Category Archives: paint

Mixed Media Techniques on Blotter Paper

Standard
Mixed Media Techniques on Blotter Paper

Hey friends, what’s going on today?  Well…..

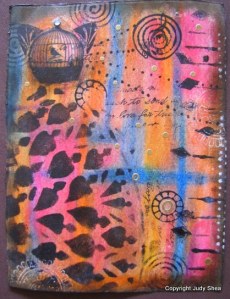
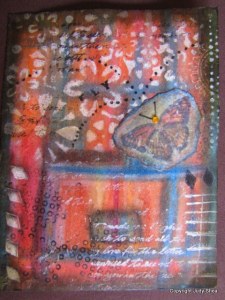
… I thought I would take my under paper (blotter) on my art table and take it to the next level with more layers of paint.  I’ll show you how I use texture paste on art tissue paper and use those torn pieces as collage fodder. Finally, I show you how I put an image transfer on the piece.


I really hope you enjoy that and share with others.  Please subscribe, click the thumbs up and share if you liked it.

I’ll be back soon with more.

Thanks for your comments; I just love hearing from you.

Judy  

Coaster & Watercolor Collages & Stencil Girl Products

Standard

When I was at Art is You this month, I grabbed a few of the cardboard coasters from the bathroom.  Ok Art is You’ers.. didn’t you?  I was secretly hoping that Jessica would not take hers.  But, she did… and believe me.. I have plenty at home.

And speaking of Jessica, check out her blog.. she has amazing journal work and is co-running the Fall Fearless and Fly Challenge with Carolyn Dube, another amazing journal artist.

Back to the coasters…

Coasters are such a great little size to collage on.  There are many different sizes and shapes, they are small enough to work on while your watching tv or you just want to collage on a smaller scale.  And, for jounalers, just glue it into your journal after you’re done.  As a matter of fact, I have been known to ask the servers at restaurants for a few more, after I’ve confiscated the ones under my family’s glasses.  No. Really. I have a drawer full.  I have a problem.

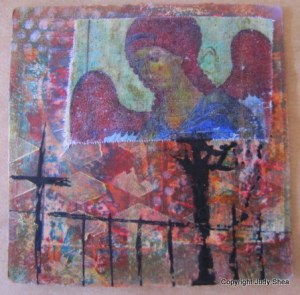
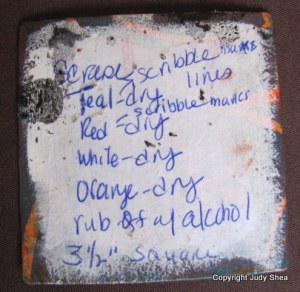
So, I grabbed my 3 1/2″ square coaster and smeared some paint all over it with my old credit card.  One color then another, then some scribbling.. no plan.  I used one of my fabric transfers of a vintage angel.  Then, you look at it and say.. “wow, that’s cool.. how did I even make that effect”.  Right?   Been there?  So I wrote the colors I used what I did on the back, cuz I really liked the background effect.

Here is my result and my steps on the back of the coaster.  Just jot down what you did, cuz you never know what you’ll end up with.  The black scratches I used by dipping the edge of my credit card in back paint and making the marks.  I also used a diamond stencil with gold paint and pounced white paint through some drywall joint tape.

I feel like the angel is looking at the cross.  I am in love with the religious images.. the “vintagy” look and the colors.  I never really noticed them for their art before, but they seem to attract me lately.


You can check out one of my coaster collages and tutorials HERE.

Next up is a couple of collages on watercolor paper.  These both measure 8″x6″.

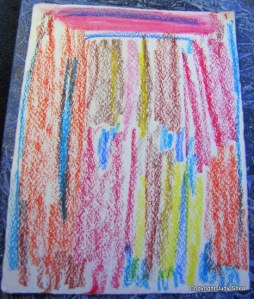
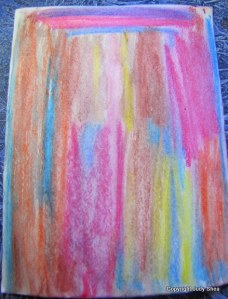
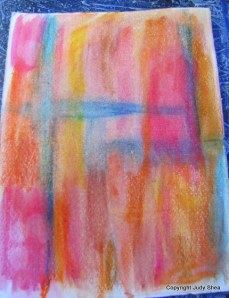
I started with Portfolio Oil Pastels.  If you don’t have these, they are just great for any collage/journal work.  I randomly scribbled lines…


Then rubbed the colors with a damp paper towel.  I added more shadowing on the edges.


Here are the final results…


The bird cage is a transparency transfer directly on the collage and the butterfly is also a transfer, but on thin cardstock that I ripped and stained with ink.  I worked on these side by side so they looked a bit related.  Sometimes, if I think anything is too bold and needs some toning down, I take some fine grit sand paper and give it a rub to fade the area.  It gives a worn look and pushes it back a little.

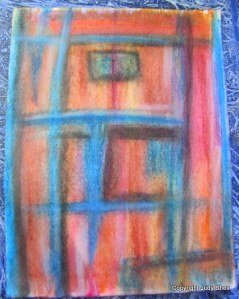
Finally….. I thought I’d share with you a quick collage piece we did at Mary Beth Shaw’s “Mores Is Less” class that I took at Art is You.  She asked us to play around on paper first before we started on our wood substrates.  I actually like how this came out.

… and speaking of Mary Beth Shaw… please stop by her STENCIL GIRL PRODUCTS site for some great shopping on all the stencils she has available. Stencil love is in your future.. I just know it.  Oh, and while you are there.. pick up some Wood Icing.  You’ll never leave home without it again.

Thanks for stopping by.  I love to hear from you.

Judy 

Dina, Dyan and Away I go……..

Standard

Hey there… today I am heading out to Art is You in Stamford, CT.  The days of rain have passed and it’s the most beautiful Fall day.  But,…. before I go, I wanted to share with you a class I took recently at Ink About It with Dina Wakley.  Dina was fun and down to earth.  We had a messy fun time.

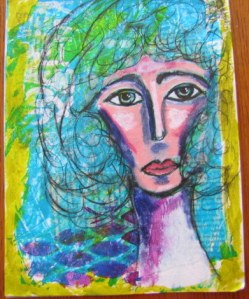
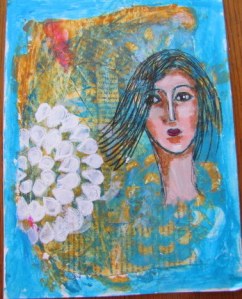
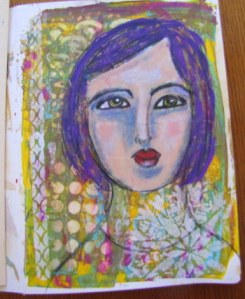
Dina started us off with making backgrounds on heavy paper.  A messy background.  Well, you know me.. I love a mess so I got right into it.  Then to make face portrait on top of the mess.  No thinking, just a basic face that she showed you how to do if you didn’t know how and then it took off.

Here are my two faces I made…  crazy, huh?  You can see these are not, by any means, perfect, but still striking, fast and fun.

   and  

Then, I did this one in a separate journal I got, that was created by Dyan Reaveley.  You can see this big beautiful journal HERE.

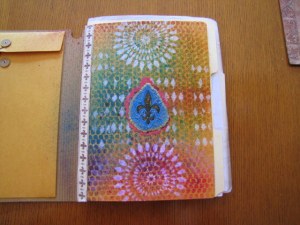
This is how I decorated the front page of the journal….

So, I’m ready for my trip to CT for a weekend of art… I made new ‘bellishments, attached my new MOO cards and I’m ready to trade.

I’ll be sure to post about the weekend.

Thanks for stopping by.

Judy ♥ ♥ ♥

Hand Art and more from the studio…

Standard

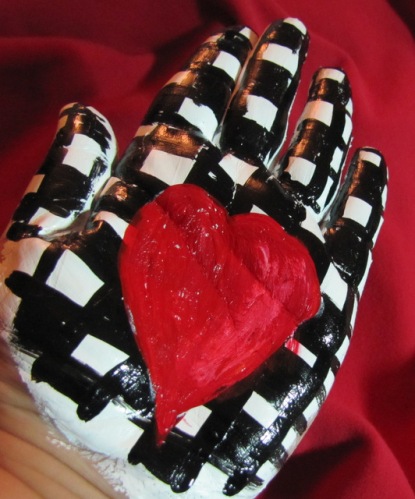
Let me lend you a hand, shall I?  A little LOVE for you.

I had fun painting my hand to contribute to Art is You.
I’ve also been working on a piece using Wood Icing.  I love this product. Not sure how I’ll finish it yet, but here’s how I got there…

I started off with a piece of cardboard from a cereal box (12×6″ish).  Gessoed it, let dry.    Then spread a layer of Wood Icing with a palette knife.  Then I made marks on it for texture, using a butter knife and the little center plastic thingie-majiggie from a roll of transparent tape. After the Wood Icing was dry, the cardboard started to bow a little, so I let it sit under a heavy book overnight.  That did the trick.
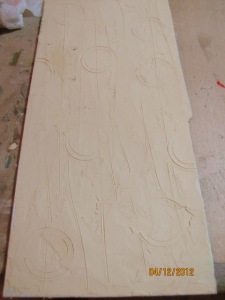
 

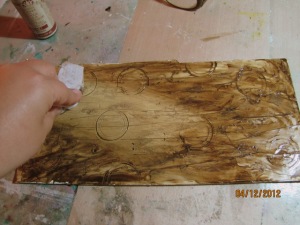
I spread brown paint all over the Wood Icing and smooshed it into the textured grooves and patterns.

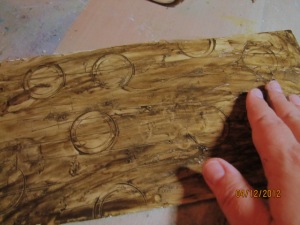
  

Then I wiped the surface off with baby wipe or damp paper towel, but leaving the paint in the grooves. Groovy!

I just love this look.  The surface has a bit of a crackle to it.  It really looks like wood.
 

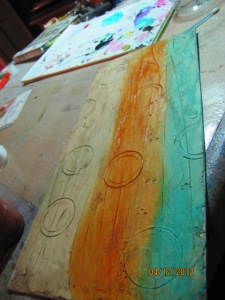
Once the “stain” was dry, I stared to spread some Cobalt Teal Heavy Body acrylic paint along the edge.  Yes, you know this is my favorite color.  Then I spread some Raw Sienna and Nickel Azo Gold acrylic paint.
 

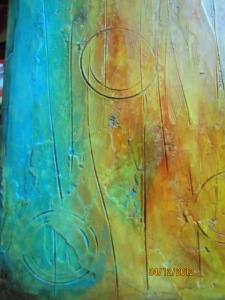
I took a tiny bit of black acrylic paint and rubbed it in sections then wiped it off quickly.  Just to give it a worn look.  I’m not done with this, but this is what is looks like now.. I love these colors.    Wood Icing is pretty amazing.
 

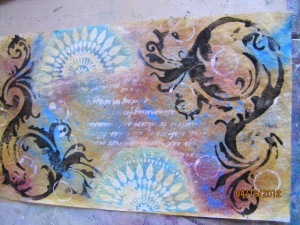
Next up are a few background papers I was playing around with when a friend (hi Raine :^) ), came over and we took over my kitchen table and painted and sprayed and had a blast.

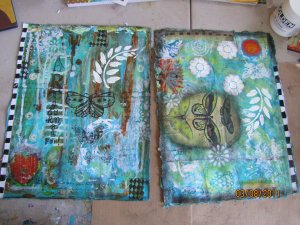
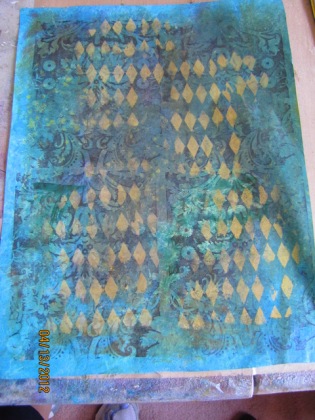
I used deli paper for the surface of these pages.  Lots of spray inks and acrylic paint and stencils….
 

For this surface, I used a Tyvek envelope.  Tyvek is the same material that Federal Express uses for their envelopes.

Acrylic paint (yes, I know.. teal again). Rubber stamps and stencils.
Where are you going?  I’m’ not done.

One one of my recent posts about my cousin, Wayne.. SEE POST HERE, I decided to take a piece of corrugated cardboard and see what I could do with it.

Here is my mixed media piece.  It’s about 4×6″ish.  Gessoed first, then added my handmade polymer clay Button ‘n bellishments, copper wire, stencil background with small bits of newspaper, image, handmade copper/patina paper that I had hanging around that I made years ago.

Getting up in the studio has been a challenge lately with my corporate job taking up a lot of my time.  I still try to balance my personal and business life.  Do I succeed?  Sometimes, I don’t think so.  All I know is that when I finally get up in the studio, I’m happy and peaceful creating art… for me… and for you.

More art and more recipes to come.  I’m reading a couple of new art books that are really challenging me to try new things.  Stay tuned on that….

… and as always.. thanks for stopping by my blog and your interest.

Judy

Re-post – Gel Skin Art

Standard

Here is a re-post of the “skins”, I made a while back.  Thought you would enjoy a 2nd go round on reading it and for the new subscribers and visitors.

The skin with the beads, is my favorite.  I’ve been tearing that up and using it in my work for about a year now. Here is an example of how I used it recently in my coffee filter art piece; see post here.

First up was Golden’s Self Leveling Clear Gel and the Clear Tar Gel.  I took a palette knife and spread a good amount on some freezer paper.. like frosting a cake.

I sprinkled some finer glitters and shiny things like colored micro beads, sequins or whatever I had.  The self leveling gel and the tar gel had the same results.  I think I will try mixing color into the gel to make it a solid color, then adding the pretty shiny things.  Adding snipped colorful fibers or fabrics would be an interesting effect, don’tchya think?  I’ve done it and it is.

Then I took fluid acrylics and dropped dots all over a sheet until it was crowded and ran a knitting needle around it making swirls and shapes.

I also took blobs of paints at the top of the freezer paper and spread them downward, but they came out too thin.  Not so great.  Using heavy body paints might work better.  But, still interesting and one of a kind.

Once they are dry, you can peel them off of the freezer paper.  Now what do you do with them?  How about adding them to a collage page, journal page or  cut into strips or chopped up to put into some dryer sheet collage art cloth… see my tutorial here on how to make it.

I haven’t been back up in the studio since before vacation.. sad.  I’ll get up there, get my creative juices flowing and be back with some fun stuff.

Thanks for stopping by?

Judy

Big Bold Backgrounds

Standard

As I continue to do some Spring cleaning in my studio, I took a large piece of Wausau paper out the the wastebasket to give it a new life.  I thought, what kind of Mixed Media Artist would I be to throw this away.

I began to spread paint around with my old gift card, which make great small paint pallets by the way.  Layer after layer of colors.  If I didn’t like a section, I simply painted over it with white paint.  This was a big background about 14″ x 11″.  I love the size and decided that it will become a large journal.   Since I only had the one large sheet, I had to make another to make a book.  I had some white poster board lying around.  Poster board paper.. the kind you used/use in school for projects… takes a lot of abuse with paint, water, gel medium.. really standing up to what I was doing to it.  Actually better than the Wausau paper.  Samantha Kira Harding gave me that tip a long time ago.. Thanks, Samantha!

Here is a look at them so far.  I say “so far”, because I know that I’ll end up putting some fabric on their or some polymer clay pieces.   Click on the picture to enlarge, then click again for details.

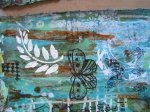
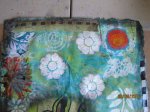
Cobalt Teal paint (Golden Fluid Acrylic) played a big part in these pages.  Just my favorite color.  I also used Ranger/Hellmuth Studio’s “landscape green”.  That combo is perfect together.  I used heavy body white acrylic paint to spread through stencils, did some transparency transfers, rubber stamping, charcoal stick.

Few more section shots.. click to enlarge.

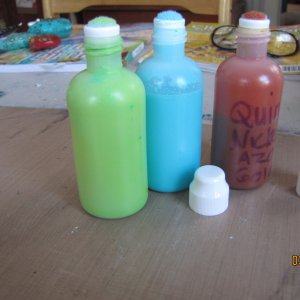
I also purchased some dauber bottles for paint… they are actually BINGO ink bottles.   In the past I bought the dauber covers that can go on any basic acrylic paint bottle (ex: “folk art”).. but I did not like those.  I was always banging the bottle to get the paint flowing

Here are 3 that I made.  Cobalt Teal mixure with water and a little Golden Glazing Liquid.  My own version of green and Quinacridone Nickel Azo Gold.  All three of these colors are on the pages above.

So, my next step is to get hold of more poster board paper and make the inner pages… then binding it.  Not my thing, binding/sewing journal pages.  We’ll see how that one goes.  Stay tuned for more…

Thanks for stopping by.

Judy

In the Artist’s Studio

Standard

Been away for a little bit..sorry.  Work has me shackled.

Here are some fun things I’ve been playing around with in the studio when I get up there..

First… a couple of crooked houses.. look how cute my black bird is on top of the roof… all together… “awwwwwwwe”.

Click to see more detail on any of the pictures.

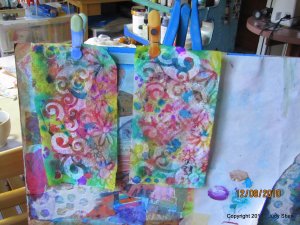
Next .. paper towel paint spills and then sprtized and stenciled.

These were left hanging to dry on my easel.

…and, I’m working on this canvas… LOADED with textures (gel medium, beads, paper doilies, embellishments)..then once dry.. painted with pearl ex powders… yummy.

Click on the picture for a close up and click again to see more deliciousness details.

Be good and thanks for stopping by.

I’ll be back with more to show you and a tutorial…

Judy

Styes, Watercolors and Holiday eating… oh my!

Standard

I sure hope everyone had a nice Thanksgiving Holiday break.  It was nice having a 5 day break from the full-time job, but the days sure do go by so fast, don’t they?

I started last week with a sore eye… ended up at docs and found out I had a stye …geesh (ew, some of these images are gross.. mine is/was not that bad.. ..  So, hot compresses all day, he told me, but those didn’t seem to work UNTIL I added a tea bag to the hot compress and then it started to get better.  Plain old black tea bag or as my friend, Amy, calls it “dust in a bag”… love that.  The tanic acid seems to be a healer.. remember that.

.. and speaking of healing, I will need a healer after eating too much at the Thanksgiving gathering.  Everyone ate too much.. ok.. me.. there I said it.  I need to pull out my Weight Watcher’s food journal again and keep track of my eating.. god I hate the keeping track stuff.  If you can keep track of what you eat in the long run.. you will succeed… but who can?  I digress.

Maybe I can incorporate a food diary and art.  So making my daily food journal on some cool collage/painted pages.  I have to be realistic now.. will I really paint 10’s of pages to write a food diary on?  Maybe some quick swipes of credit card painting and some doodling?   God, that’s depressing (just kidding.. no I’m not…… really.. yes I am.. nooooooo).

.. and speaking of art (I needed to change the subject)…..   I bought some really cool Koi watercolor paints on ebay last week and I was playing around with  them as I lounged in front of the Christmas tree during some time off.  Yes, it’s up already.  Ugh.

These paints are so cute.. great for travel or just working in a different place than your studio.  I really like the effect they leave.. very light & dreamy.  I actually snuck in a little oil pastels (Portfolio) on the pages too… another nice effect.

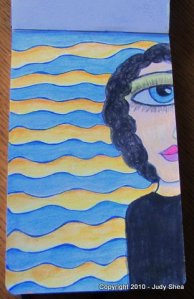
Playing with them in my 5×7’ish (that’s a measurement.. no?) moleskine journal.. here’s what I did:

She is so funny.. as I look at her she looks like a beautiful cyclops.  That’s one big friggen eye.

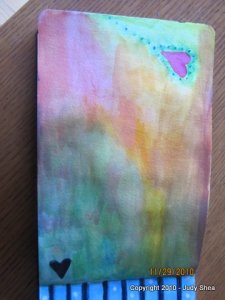
This page was just the excess paint I smooshed around and blended when I changed colors.. no waste.  Rubber stamping on top of these pages will look so nice I think.

You can use any kid’s watercolor sets.. This one is just compact and I thought the price was decent.  Merry Christmas to me… a little early.  Shhh.. I have a few more gifts coming my way.

Now, go make some art.

Thanks for stopping by.

Judy

Collage Redo

Standard

I just had to…. It was bugging me for over a week… the last post I did with my final collage was really bothering me.  I put it away for a week and took it out again.. I still didn’t like it.. too busy.. just too busy.  I felt like the transferred queen and the polymer clay face were fighting each other and the embellished metal piece to the right was just too much.  I got some advice from some artistic souls and I was inspired to attack it… gently that is.  Well, no …not really.

Here is the one I posted last week that I thought was final….

I needed another set of eyes to look at it.   I ask my husband and he says.. “ohhh.. nice”.. hmmm, that’s it???  I work for hours on this and I get a “nice”??  Men… do they really think about those things?  I mean, it must be like asking them “do I look fat in these pants”?   The safe answer is “no, honey, of course not”.  Ok… I’ll accept that.   I think if I asked him to really take the time to look at it, you’d know what he’d be thinking… NOTHING…. of course unless the Patriots are on the t.v. and they are winning .. ….fuh-get-aboud-it.   Then I asked my 16 yr. old daughter and she says  “that’s pretty cool” (as she lifts her head up from texting or watching some stupid reality show.. I mean really… REALLY? I’m going into my woman cave… make your own dinner!

Ok, that’s it.. I’m going in for the critiques from other artists.   Am I ready for that?   Well, I’m glad I did.  Amy told me that the blingy thing on the right was the first thing she saw.  I knew it.  I put it away in the closet.  That will be my “what not to do” collage.  Then my friend, Raine (and I can’t link to her, cuz she ain’t got a blog YET), looked at it and said it seemed too busy and little too much of this and that.  Yes, finally, I knew I had to change it.

I ripped off the embellished metal piece with the black fabric down to the bare canvas.. what a mess (it was secretly fun).  Then I went over it using the same method I used to make the bubble texture and then painted it the same.. see the tute here.  I also ran a black ink pad over the high peaked bubbles.

Ripped off the polymer clay face and replaced that with another piece of CitraCollage (see in the same tute above).

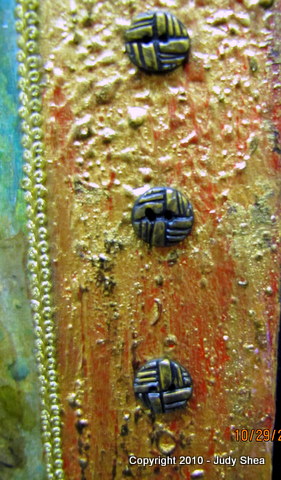
Then I added 3 of my handmade polymer clay buttons to replace the black fabric and embellished metal.

I painted black and white stripes on the sides and stained with walnut ink.

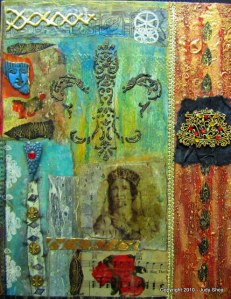
Here is the final final and some details.

So what do you think?  Better?    Thanks, my friends.

Happy Halloween!!!

Judy

Workshop Success!

Standard

Hey Blogereetas…

Well, my class was a success.  I guess I would measure success on that it was relaxing, my students/artists were so talented, social, humorous and down right fun.  Thanks, Kristen, Raine and Susan for making it easy for me.

The class was scheduled for 3 hours, but we could have gone 4.   The books just came to life with each step they completed.   We could have used about 30 more minutes, as 2 did not finish their books.  They promised to finish at home and send me pictures.  I’ll be expecting them, ladies.  Don’t make me come over there.  I’ll post them as soon as they do.

Here are some shots of the day and their work.

First, introducing our Hostess at the Scrapbook Cupboard, Bev.  Thank you so much for being wonderful and bringing me in to teach.

If you’re in the area, please stop by to visit and/or take one of their great classes.

Here’s my class, aren’t they cute?

Artist’s work in progress.  I wasn’t able to shoot more pictures than this, but this will give you the flavor of the class.


What fun!!!.. and Bev made us eat chocolate.

I’ll be back at Scrapbook Cupboard in September to teach my Buttons, Embellishments & More Workshop.

Thanks for stopping by.

Judy

Next up…. Dryer Sheet Collage Paper