Category Archives: MIxed Media Art

Mixed Media Techniques on Blotter Paper

Standard
Mixed Media Techniques on Blotter Paper

Hey friends, what’s going on today?  Well…..

… I thought I would take my under paper (blotter) on my art table and take it to the next level with more layers of paint.  I’ll show you how I use texture paste on art tissue paper and use those torn pieces as collage fodder. Finally, I show you how I put an image transfer on the piece.


I really hope you enjoy that and share with others.  Please subscribe, click the thumbs up and share if you liked it.

I’ll be back soon with more.

Thanks for your comments; I just love hearing from you.

Judy  

Edgar Allen Poe Journal

Standard

Hey, everyone… This weekend is the end of July!!!  Can you believe it? Wasn’t it just May?

This weekend, I published a video on how to create of journal from a notebook.  I covered the back and front of the notebook, creating a personal journal, with layers and layers of paint and just did an overall mixed media frenzy on it.  After all the love/hate process and the stages it went through, I love the way it turned out.

I created this as a gift for my amazing niece, Christina, for her birthday.  She loves Edgar Allen Poe and she loves to write. So, I created this journal for her to enjoy and write in.

I hope you enjoy it.

If you do enjoy my channel, whether it be my art or cooking, I’d love it if you subscribe and hit the thumbs up.  Please share with all your family and friends.

I’ll be back soon for another video on some sort of art.. .culinary or mixed media.

Love to hear from you with your comments.

Thanks for all your support and being here.

Judy♥♥♥


Sito’s Kitchen – Making Tahini & Hummus

Standard

Friends… HELLO.

Here in Mass, the weather is cold and dreary. We are wondering where Spring is. I feel like I live in Forks, WA. You know.. where the movie “Twilight” took place? I think “Bella” and “Edward” are going to show up at my door.. LOL
Then, in July and August, we’ll be complaining how hot and humid it is, right?

Cooking and art is funny. Funny, as in “strange”. You know, I have to cook everyday.. everyday…. and I do enjoy trying to be creative in that department. BUT, art.. art… I have to make time for it. Some days, I don’t know why it’s hard to get in the studio. Anyone have that issue? Please say yes. 🙂 So much going on in my head.. thoughts.. always thoughts. Do you know we have THOUSANDS of thoughts that twirl around in our brains, everyday. Which ones to you take action on? Which ones do you ignore on purpose? Which ones do you forget? Many are negative, many are positive. Squirrel!! That’s me.

Art doesn’t have to be an all day process. They (who’s “they”?) say just do 15 minutes a day of art. I think for me it’s ALL OR NOTHING. I discussed this with a group of women this week. What does that mean to you.. all or nothing? If I’m going to get in my studio, I want it to be for a full out project. But.. it doesn’t have to be that way. A little more consistency with little visits than ALL or NOTHING. You with me??? Let me know what it means to you.

I’m trying to take advantage of my mom wanting to do these videos with me. She surely is fun to do these videos with. Even with her shyness and getting tired, she knows what needs to be done and wants to take over. The boss, the queen, the best!! I do so cherish the amazing stories (of family and survival) she tells me of the old country when we are together. Recently, we spent the weekend together, just her and I.  Those memories of that time with her, will always be forever in my heart.

I hope you enjoy this video as I attempt to make tahini from scratch and then hummus. I put so much garlic in. My mom tries to tell me to put more oil in the hummus to “kill” the garlic. As you can see, I try to ignore her and get through the video. It was really garlicky… no vampire visits today. Ha!!!

Thanks for being here. I do this for my readers and subscribers and at the same time, I hope you’ll love what I show you.

Would love it if you LIKED and SUBSCRIBED to my YouTube channel.

Happy Spring!!!

Judy ❤

Mixed Media Cardboard Art

Standard
Mixed Media Cardboard Art

IMG_5018

Hey everyone… thought I’d share a new video I did making a mixed media piece art from a butter cardboard carton.

I haven’t done a video in a bit, except for my Baklava one.  It was nice getting back in the studio getting my hands messy.  It’s all just play. I’ll let the video speak for itself.

Hope you like it and let me know what you think.

I love hearing from you.

Enjoy

Judy ♥ ♥

I’ve Been Unruly

Standard

Hey friends.  My absence from my blog makes me sad, but no fear, here I am.

What’s going through my mind lately:   Since we moved our home (almost 2 years, crazy) I’ve moved my studio to the basement and that’s where my full-time job is; on the computer.. ALL DAY.  I’ve been rethinking how healthy this is for me. Although it’s a finished basement and is a beautiful room, it’s still much cooler (nice in the summer) and not sure how good that is for my back issues. It has a nice rug, but still sits on cement.  My mom told me not go work down there. As she said to me in her cute accent “it not good, Judy”.

Honestly, I think it’s effected my desire to create art.  In my old home, I had a sunny room upstairs that I was up there creating as much as I could.  Maybe I am associating my back pain with my art down in the basement.  Maybe I need separation of office and art studio.  What do you think, my friends????  I’m usually a more private person, but thought I’d put this out there. Thank you.

Any whoosie whatsie…..

I thought I would share my recent Artist Spotlight appearances on the Unruly PaperArts website.  I was honored to be interviewed and asked to submit a tutorial.  It actually forced me to get back in the studio and get cranking on some art. Yay for me.

Click on the picture, below, to read my interview.

judy project 1

Click on my bookmarks to see my tutorial.

judy shea project 8

I hope you enjoyed both of those.  Model Magic is not as easy to work with as you may think. Once dry it can break easy. Especially if it’s thin.  I wanted to change it up a little from the polymer clay. Still a load of fun.

Have I told you how much I appreciate you lately?  No?  Well, I do.  A LOT!!!!    Because I do, I will be doing some giveaways. Passing on some of my gently used art and giving it a new life.  Stay tuned.

Always love hearing from you.

Judy ♥  ♥

Making Fabric Dolls with Some Great Dollz

Standard
Making Fabric Dolls with Some Great Dollz

Happy Sunday!  If you are a football fan, you’ll be watching the Super Bowl tonight. And.. if you live in New England, you’ll be watching the Patriots play and hopefully win… deflated balls or not.

We just finished having about 3 feet of snow dumped on us last weekend and another foot is falling tonight. We were doing so good, too.  It’s been pretty dry up until now.  Working from home, there is no such thing as sick days or snow days, but it sure makes for a great commute.

Two weeks ago, I was invited to my dear friend, Corrine’s home for some fabric doll making. I’ve never made one before, but always wanted to.  A few more friends (Kay, Barbara and Eileen) joined us at Corrine’s old/new farm house she is renovating with her super duper super hero, David (who drilled some holes in my clay for me). Here are some pictures of our fun day.

Our hostess, Corrine and a little table set up and we are ready to go. (click on any picture to enlarge for details)

20150117_104429 20150117_104434

20150117_141643     20150117_152953    20150117_152854 20150117_152844 20150117_151925

This one is mine.  Can you tell?  Teal colors (I think I have an issue) and clay wings, heart and face. Named her Edie, but I think she looks pissed, don’t you think?  She’s saying “Great, now what?… I have these damn heavy wings on me and how the hell am I going to fly.. they are upside down and they look like arms. I hate you”.  That’s not nice talk, Edie. I gave you life, after all.

20150117_153100

Check out some of Corrine’s art dolls here.  What a great day for art. We got to hang out with her beautiful 5 dogs, lots of laughing, eating and chatting it up.  And, as for sewing, Corrine sewed the shape of Edie.. thanks, you’re a doll.  You’ve given me confidence to go for a bigger doll next time.

Thanks for stopping by.. means so much to me when I hear from you and to just know you were here.

Judy ♥ ♥ (Go Pats!)

Catching My Breath

Standard

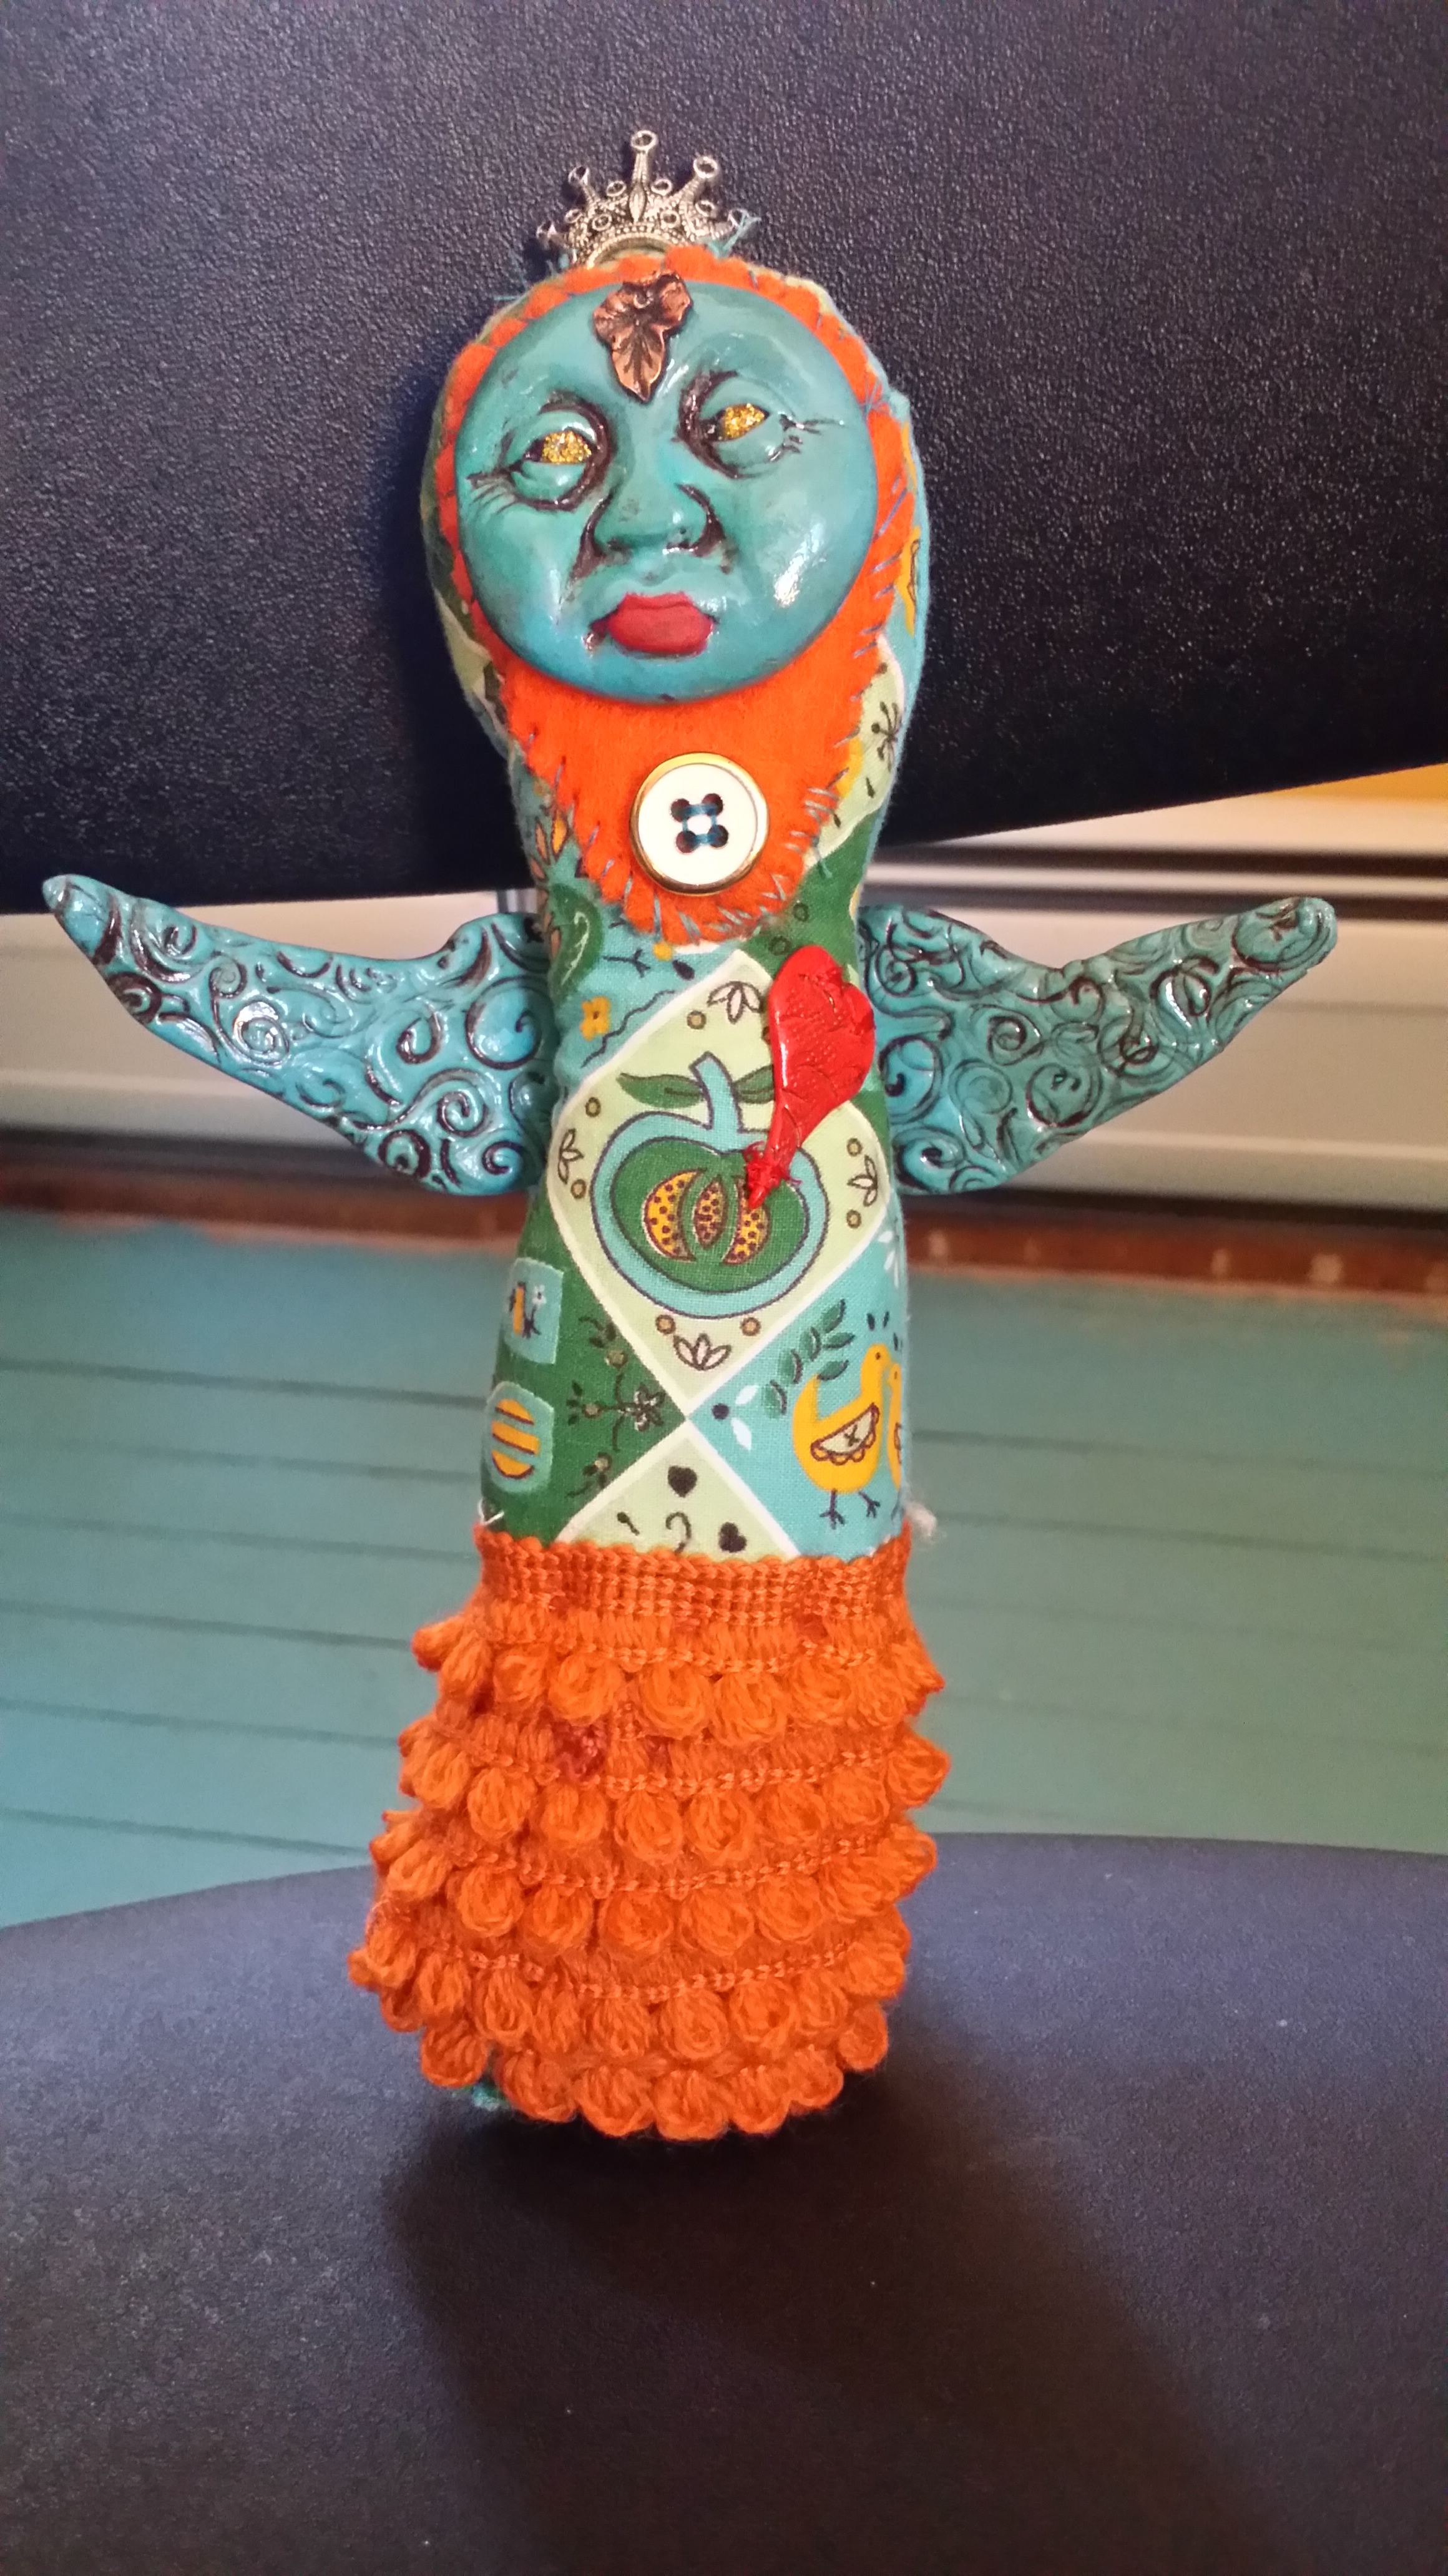
I know I know.. where have I been, right? Seems like forever since I posted. Well, I’m finally trying to sneak back in the studio for some creative time.  What took me so long?  Well, I don’t have excuses, but more like “reasons”… but this blog is all about art, food and fun. No one wants to hear about my full-time job consuming me and just plain being “in a funk” that keeps me away (see how I did that there?)  … and Happy New Year to you all.  I often wonder how long we need to say that to people. Is it 2 weeks?  Let’s say that, shall we?

Just backing up a little for some show and tell.  I went to Art is You in Stamford, in October (gosh, was that really 3 months ago?). I took 3 full-day classes.  There seemed to be so much energy present this year. Maybe it was because it was my 3rd time attending and I was more comfortable.  But, I do know that I was not 100% focused. Was that the beginning of my art funk? I was trying to push through and ignore the feelings.  They say, out of sight out of mind. I guess the longer you stay away from art, the more you don’t want to dig in again. I’ve signed up for many on-line classes by some great great teachers.  Have I finished one?  NO!  I start it then I get pulled away. Do art every day..no matter how little.  “They” say that, too.  So, for 2015, I need to not be so hard on myself and give “me” a break.

I’m I alone here? Does this happen to others? How do you push through?

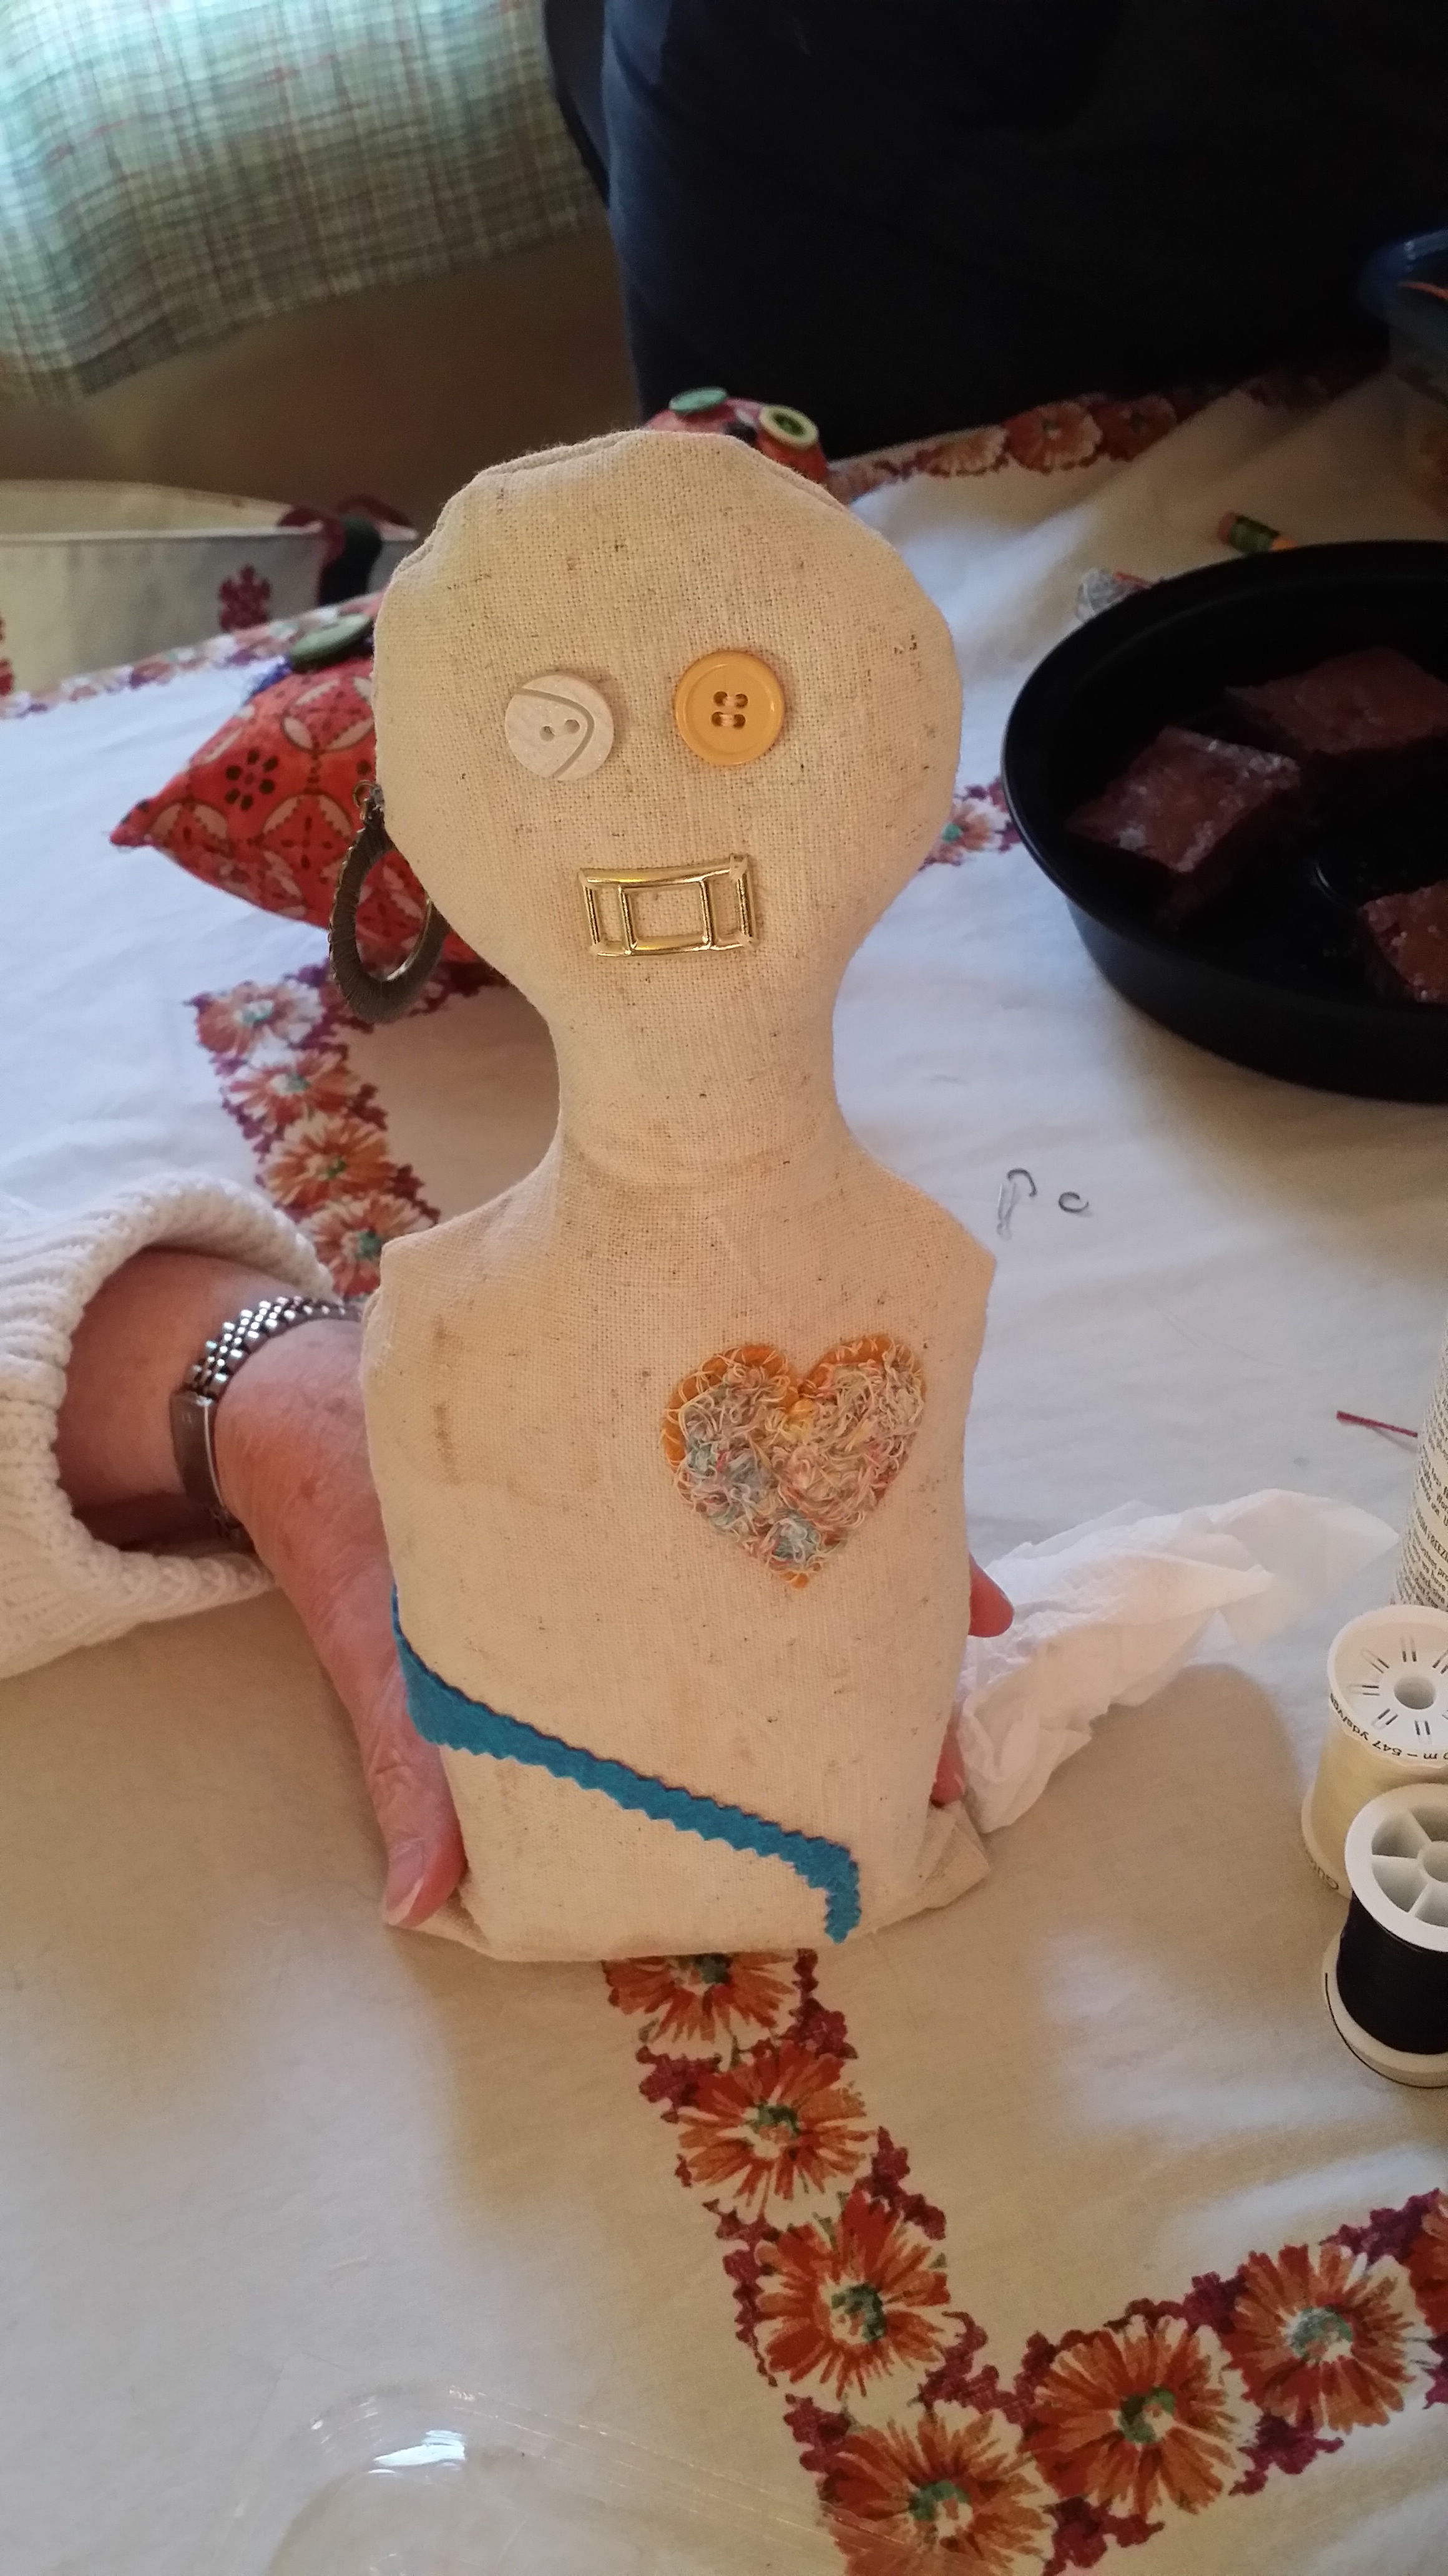
I quickly want to show you the art I created from my favorite class with Andrea Matus deMeng. I so love her work and her style. This was my 3rd class with Andrea and she never disappoints. This time, it was collaging on wood blocks. Here’s a peek at my 6 blocks. The bottom left if my mom’s face when she was about 20 years old. I took this class with my side kick, Jessica.


20141011_160940

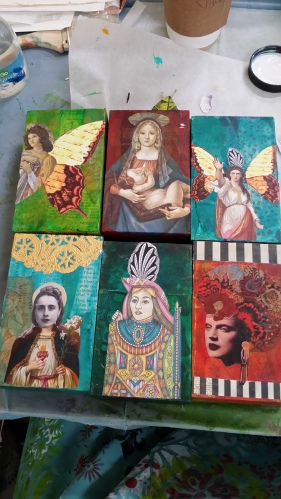
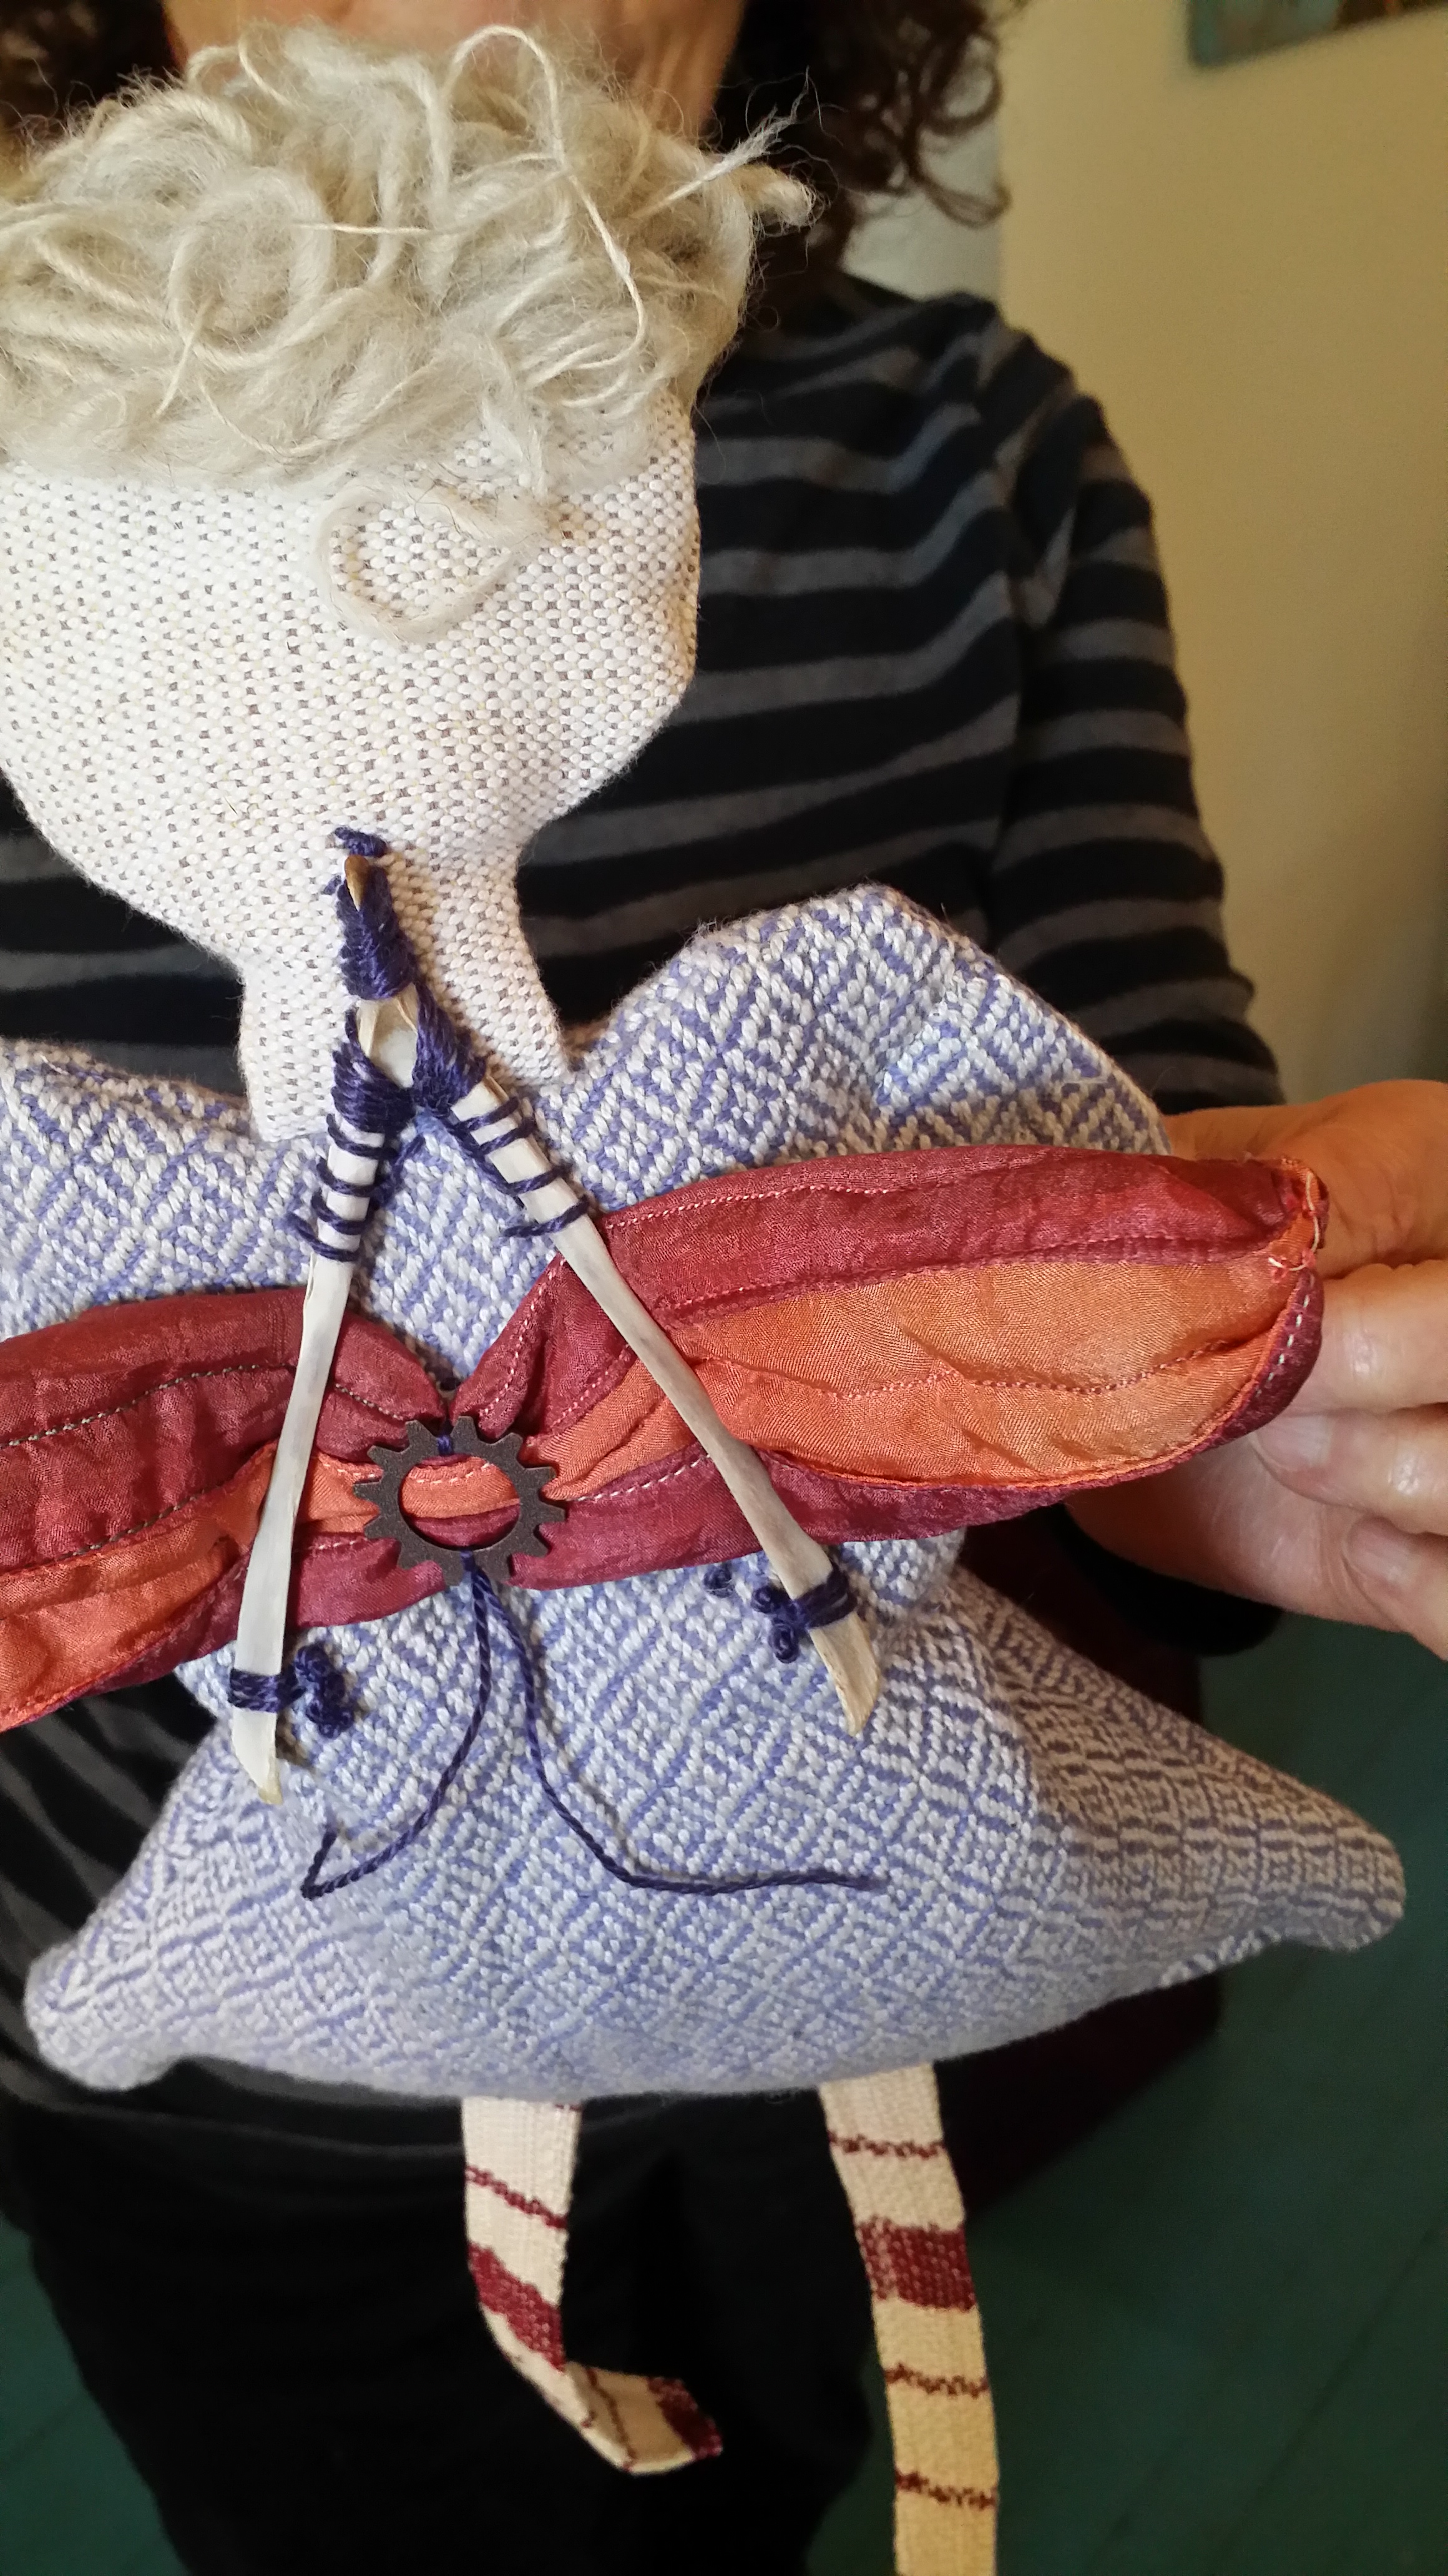
Here is a peek of Jessica’s (left) and all of them together from the class together.  Aren’t they just amazing?

20141011_161012    20141011_163622 20141011_163642

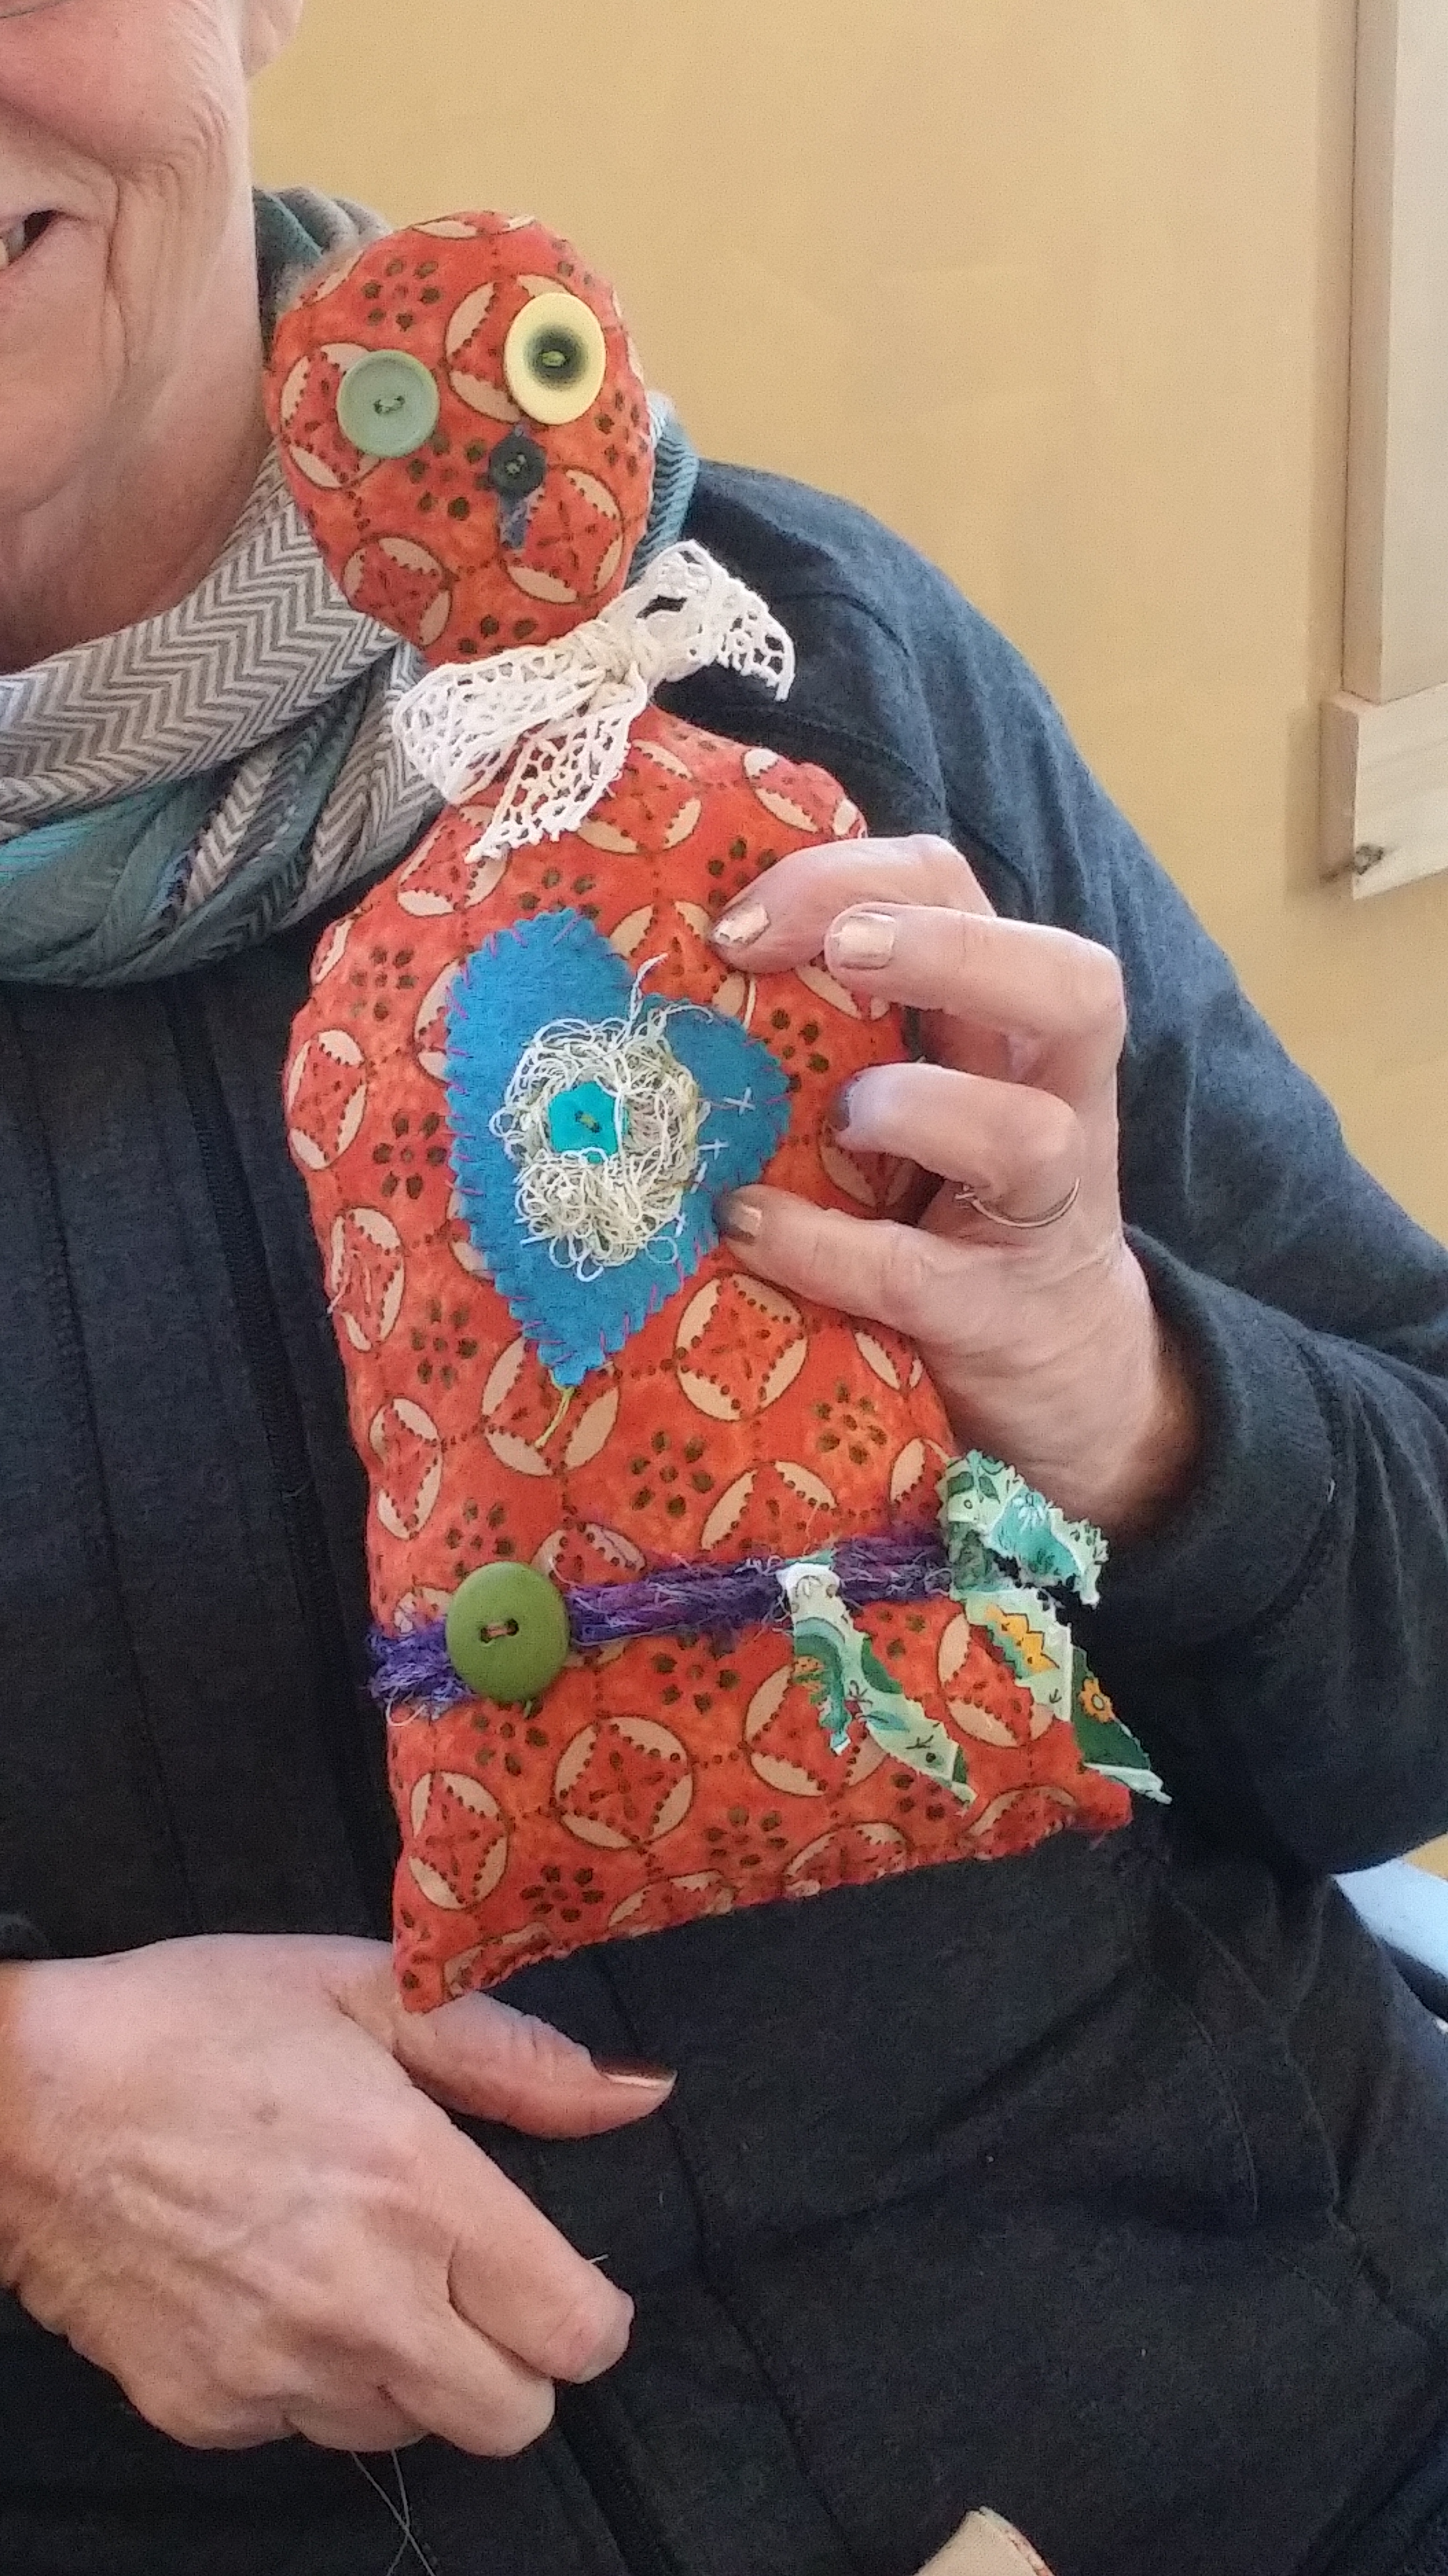
The other class that I took was with Mary Beth Shaw and Pam Carriker. I got a twoferone. They shared some great techniques and we were able to try screen printing (the bird is screen printed). Here’s what I ended up with.

20141010_163450

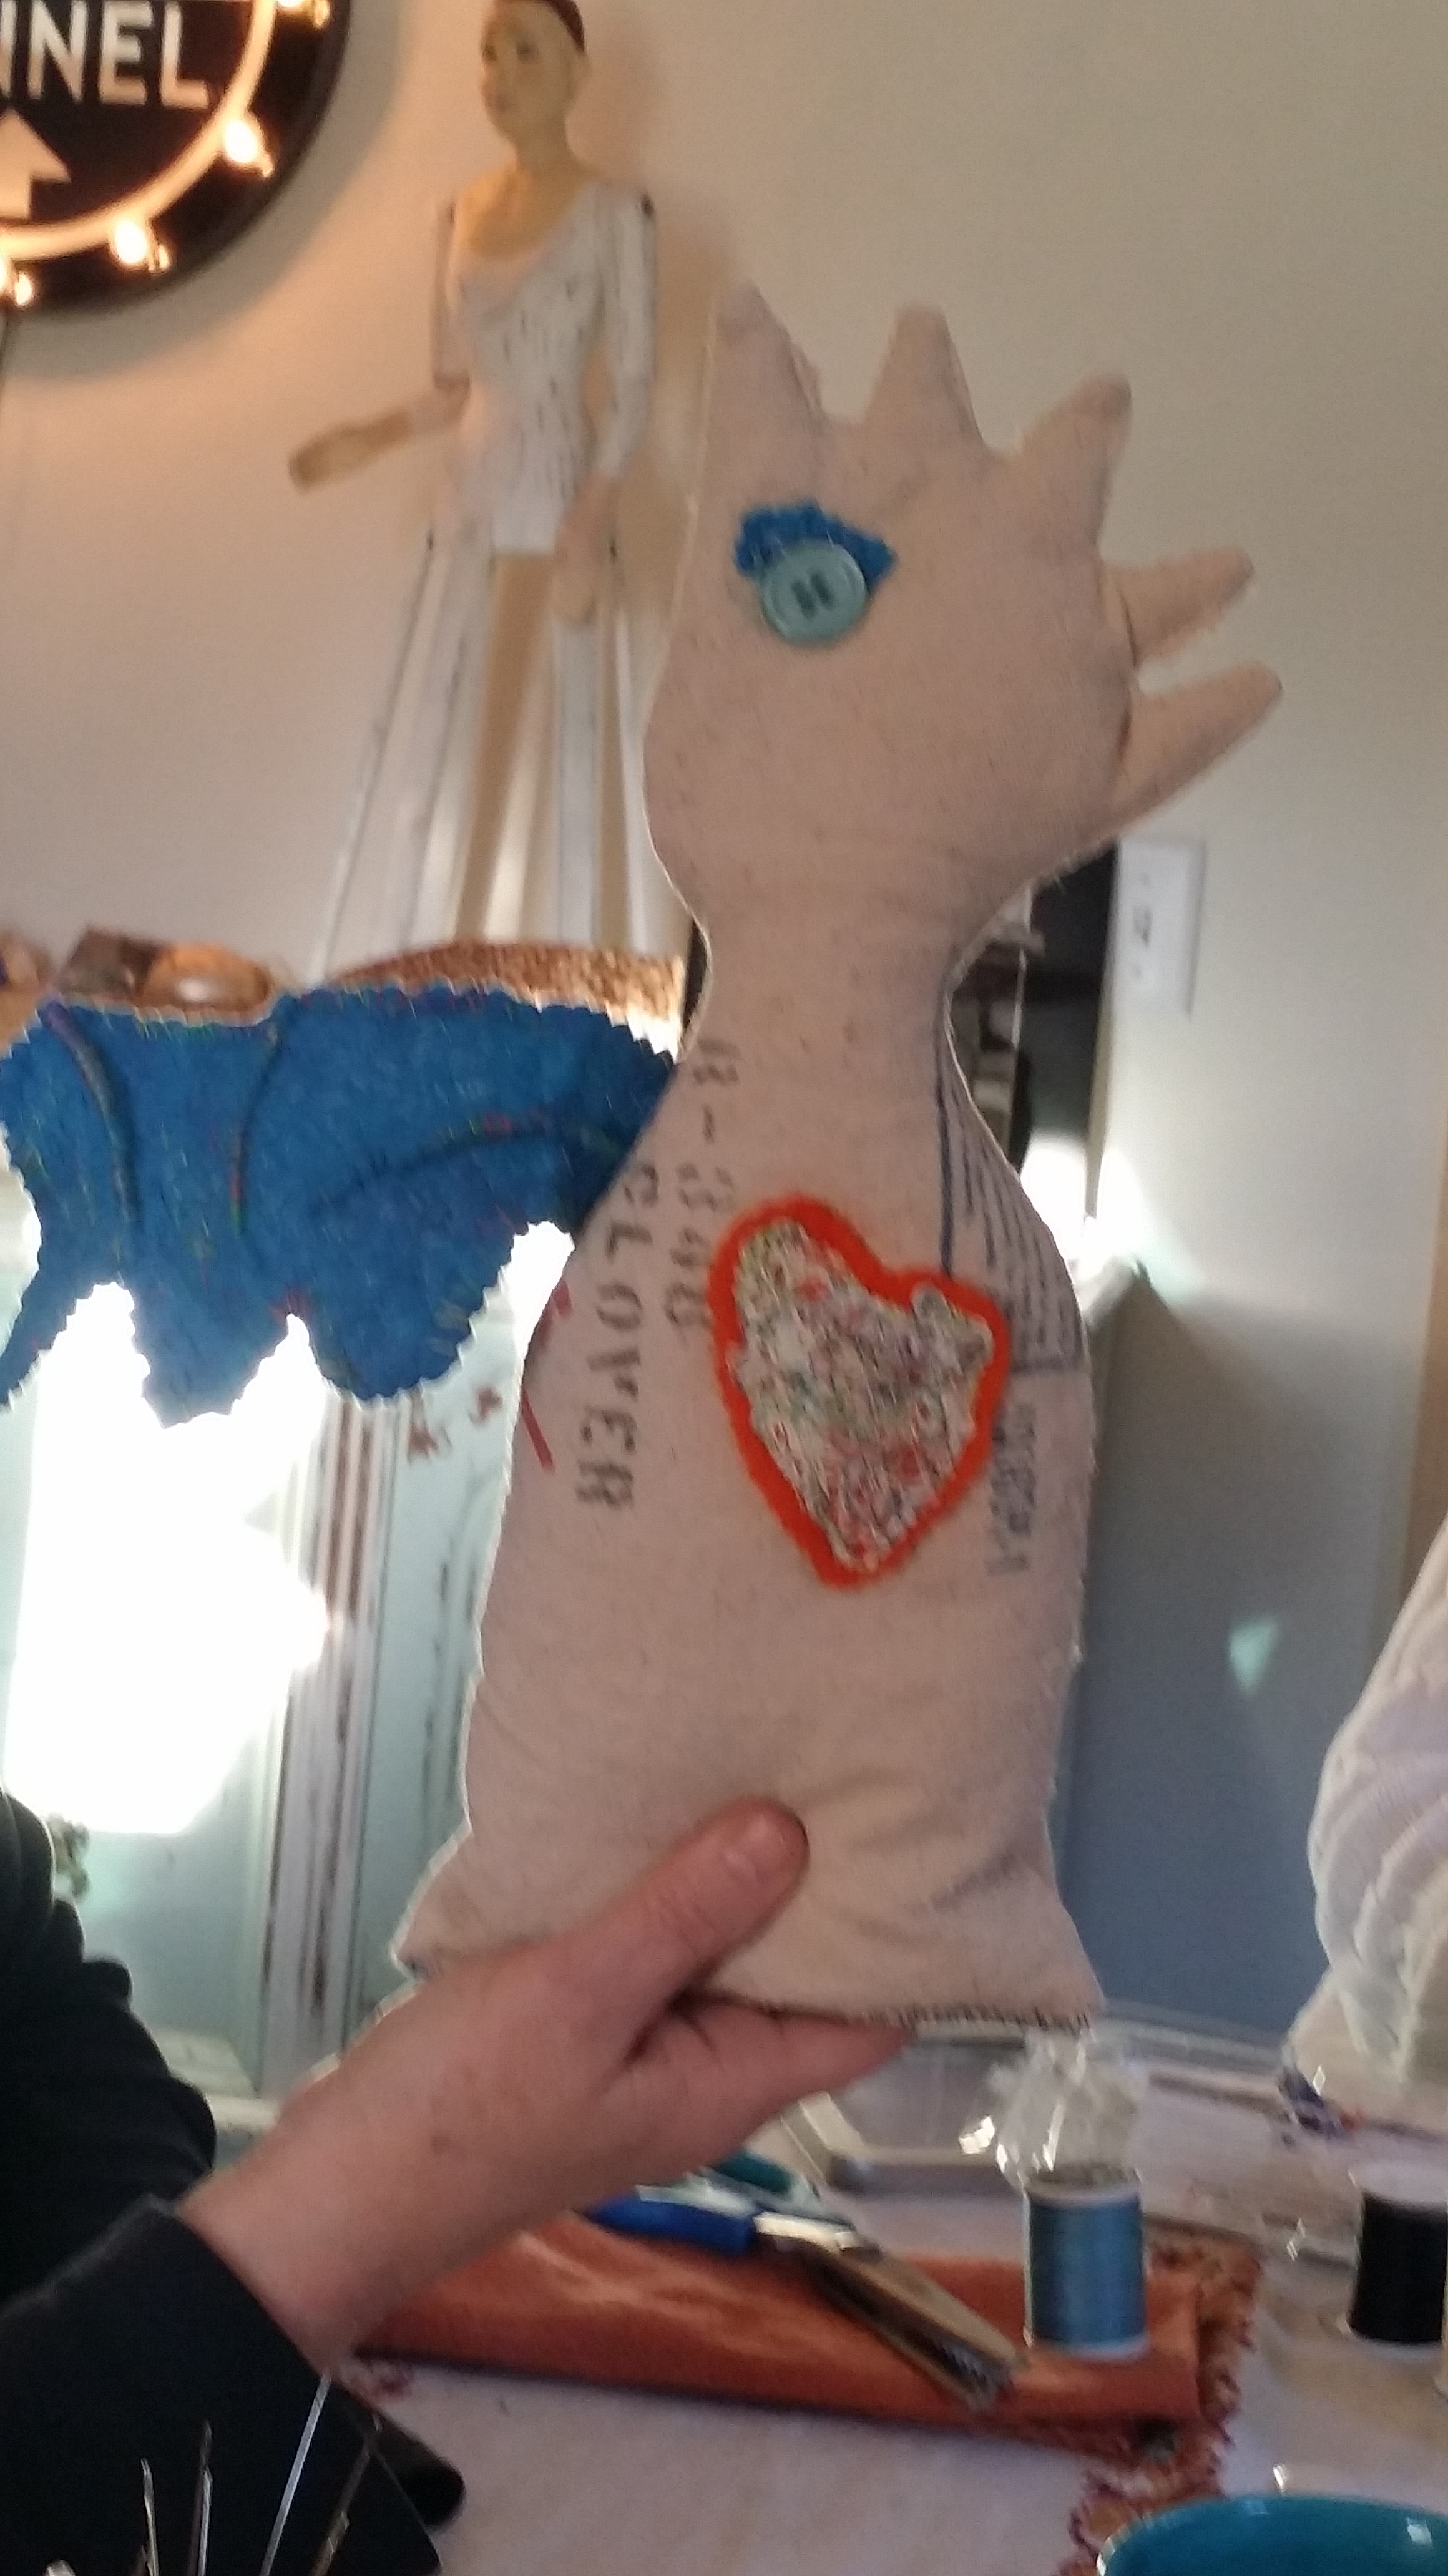
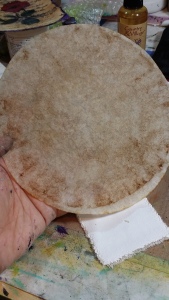
I recently had about 2 weeks off from work for the holidays. Luckily, our company shuts down. What a nice gift. I was able to get a little art in.  For those that know me well, I love doing image transfers. We also drink a lot of coffee and tea in our house and I have been saving the used filters and tea bags.  The stain on the filters make a great background for any collages. I have a small bowl where we just dump the used tea bags in. Yup, my family doesn’t question my requests anymore. The fruity teas leave a pretty background. Once the tea bags are dry, cut across the top, dispose of the tea leaves and you are left with this beautiful tea stained filter. Gently open it so it doesn’t rip. For the coffee, lay out the filter with the grinds left and wait for them to dry. Rub off all the dry coffee.

20150104_115411

I decided to make some transfers over the tea/coffee filters on raw canvas. Here is a stained tea and coffee filter.  Doesn’t that say vintage to you? I thought so.

20150103_184440  20150103_193358

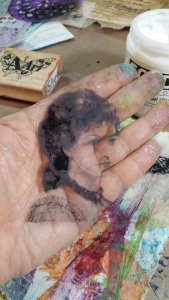
I had some deli paper that I used for wiping left over paint on and I glued that to the canvas using Pam Carriker’s Mixed Media Adhesive.  I first gessoed the canvas.  Next, I had some images that were printed on transparencies.  This is one of my favorite ways to do image transfers. Cut out your image after it’s printed on the rough side. Note: I’ve used ink jet prints here.  Cut out the image with a border around it for you to grab. Spread a thin layer of Soft Gel Gloss on the canvas and on the image. Lay it face down and gently rub it in circles with a soft cloth held against your index finger, then wait about 10 minutes. Gently peel off the transparency and you will see the image transfer on to the canvas. Check it from the corner first before you take it completely off.  I stamped a butterfly image on deli paper and ripped it around the edges and spread gel medium underneath and on top of the image. The deli paper just melts away and leaves a black, clear image.  Then I stenciled with white paint. Stained the edges with black distress ink.

20150103_18043820150103_18274120150103_18280820150103_182835


20150103_190658 20150103_190913 20150103_191542 20150103_202402

The two end pieces below, is where I used the tea bag filter and coffee filter using the same image transfer method I mentioned above. The little blue butterflies are also transfers. I rubber stamped directly onto the filters. I finally spread Collage Pauge in matte over all of them to cut down on any shine.  Such a pretty look… like an old book or letter.

20150103_202301

So.. save your tea bags and coffee filters.

Thanks for hanging out with me and being patient. Hopefully, this post has given me a good kick to keep my posts and art going.

Judy ♥  ♥

Getting Ready for Art is ME….

Standard

I wanted to get this post in before I head off to Stamford, CT for the amazing Art is You retreat.  Yes, I managed to make some swaps to share with lovely people.  Last year, I used Tyvek (check out my video), this year, it’s raw canvas.

I used raw canvas to make mixed media book marks.  The layers on this are probably about 15 or so. It started out so differently than I planned, but that’s what art is… no thinking.. start and see what happens.

I gessoed the canvas; let dry.  Started adding layers of Golden fluid acrylics after I spritzed some water. Just brushing around with a large brush. Let dry in between each wet layer that you do.

Click on picture for details.

IMG_4746  IMG_4748IMG_4753IMG_4749IMG_4750IMG_4755IMG_4756 IMG_4757

Then, I stamped on some dress pattern paper and collaged that on with decorative napkins using Collage Pauge.

IMG_4758 IMG_4759IMG_4760IMG_4761IMG_4763IMG_4764IMG_4765IMG_4766IMG_4768 IMG_4767

Teal paint in between collage. White paint marks with plastic cover and bubble wrap and adding stencil coloring.

IMG_4771 IMG_4774 IMG_4775 IMG_4776 IMG_4777 IMG_4778 IMG_4779

Pushing light molding paste through stencils… LOVE.

IMG_4780 IMG_4788 IMG_4787 IMG_4785 IMG_4781IMG_4784

Adding gold modeling cream and Posca markers for mark making.  That is what finalized it for me, all the scribbles from the markers.  All the beginning layers are buried in there deep.

IMG_4791 IMG_4794IMG_4796 IMG_4795

Then cutting up the canvas to make the bookmarks, changed it all.  Each little marker was a piece of it’s own art.  This is “The Key to my Art”.

IMG_4797IMG_4798  IMG_4800 IMG_4799

My business cards are dangling from the top.

IMG_4801

I hope you enjoyed that little ditty. It sure was fun to create these for many creative people.

I’ll be taking pictures and posting when I return. I hope I am lucky that some of you will be there again and I can’t wait to meet some new friends, too.

Thanks for stopping by and your support… always.

Judy  ♥


Creating an “Artpron”

Standard

I know, I know.. where have I been, right?  I’ve been on an unplanned art hiatus, I guess. We all know how life gets in our creative way, at least for me. I’ve always said.. I can juggle 10 balls in the air, but not 11. Crash, boom, sizzle.

Right now the most important thing is I have a post and it’s a cute one.  Yay!!!

I said to myself.. “today, no matter what, I am going to do some art”.  Alone….. in my art bubble.

I bought this teal (surprise) apron from IKEA with the intention to make it my art apron.. my “artpron”.

Let’s get to it, shall we.

I also decided to paint outside in this beautiful weather.  I gathered all my supplies and went on the deck.

There are a lot of pictures, so hang in there with me.

IMG_4625    IMG_4627

Since I already loved the teal background color, my intention was to stencil and stamp all over it. I didn’t bother using fabric paint, since I figured I won’t wash it. I used basic acrylic paints, by the way.

But, I started with StencilGirl stencils.. then more of other stencils.. old fashioned doilies, rubber stamps. Well, I’ll let the pictures tell the story…..

IMG_4629 IMG_4630 IMG_4631 IMG_4632 IMG_4634 IMG_4635 IMG_4636 IMG_4637 IMG_4638 IMG_4642 IMG_4643 IMG_4648 IMG_4647 IMG_4644 IMG_4649 IMG_4650

Did you notice any of the StencilGirl stencils?  Let’s keep going…

IMG_4655 IMG_4656 IMG_4657 IMG_4658 IMG_4659

I have so much fun letting loose.  I was happy… here is the result….

IMG_4665

Love having you by my side for these posts.  Thanks for always responding and supporting me.

Can’t believe August is approaching us already.  Stay safe and wear your sunscreen. 🙂

Judy ♥  ♥

In the studio…Playing with StencilGirl stencils

Standard

Seems as though I’m spending more time on Facebook lately than posting on my blog. I realize that many of you do not have a FB page, so I wanted to show a couple of things I’ve been playing with in my studio.  That is, when I have time away from my job. That’s a funny phrase to say out loud, because I don’t seem to have much of that in my life lately.  Ahhh, the woes of a full-time assistant trying to be creative and find time to make art. Remember that balance thing I’m striving for? Well, I continue to reach for it and all I can do is accept what it is and maybe I need to stop trying so hard and let it go.

We move on…

Playing with my Gelli Plate in my journal using stencils.  Lots of sprayed layers with fabric sprays (same ones I used in this post). Checkerboard duct tape on the bottom and some doodles to the sides. Love this depth effect. Stencil by Carolyn Dube.

IMG_4100

Doodling inside traced stencils with a black fine marker. Using Prisma colored pencils and watercolors. Bottom stencil by Michelle Ward.  Inspired by Michael Trent, new Creative Team Member of StencilGirl.

IMAG1178

More stencils using heavy gesso and spray inks. Then playing with colors in Picasa. Stencil by Mary Beth Shaw.

IMG_4152  IMG_4153

My favorite.  Playing with stencils in the background and making image transfers on top using old photos of my parents. Stencil by Carolyn Dube.

IMAG1167 IMAG1169 IMAG1158

Playing around with this photo in Picasa.

IMAG1165

Finally, I leave you with a photo I captured of a Snowy Owl just outside of our town at Plum Island. I had never seen an Owl in my life.  People come from all over to the sanctuary here for bird watching.  Some days it’s like a paparazzi with all the people and the cameras.  And, oh, by the way…. the Eagles have landed. No, seriously, the eagles (the bird, not the band), have migrated to Plum Island. I’m hoping to get some good photos of them; I’ll let you know how that goes.

IMG_4053

Just wanted to keep in touch with my peeps.  I’ll be back soon with another Blog Hop with StencilGirl.

Thanks for stopping by.  I love hearing from you.

Judy ♥ ♥ ♥  (Happy Valentine’s Day!)