Well, I’ve been waiting for this week to come for about 4 months now. This marks the end of very long days, and sometimes nights, preparing for a very big customer event at work. So, mission completed and have sent all the executives off on their trip. I promised myself once this week came, I would take some time off and enjoy some time in the studio….
…. and that’s exactly what I did this morning…… follow me, will you?
I recently purchased something that was contained in this long box. I decided to recycle it … I could do something with it… right.. something for the art studio??? I think so. CLICK ANY PICTURE FOR A CLOSER LOOK.
I gessoed all over. If I were to do it again, I would sand the sheen off. But, a couple of coats; wait til each coat dries. Tip: sand the box first.


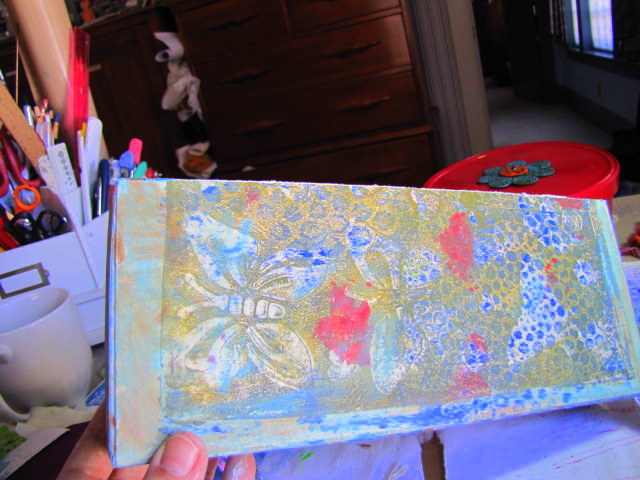
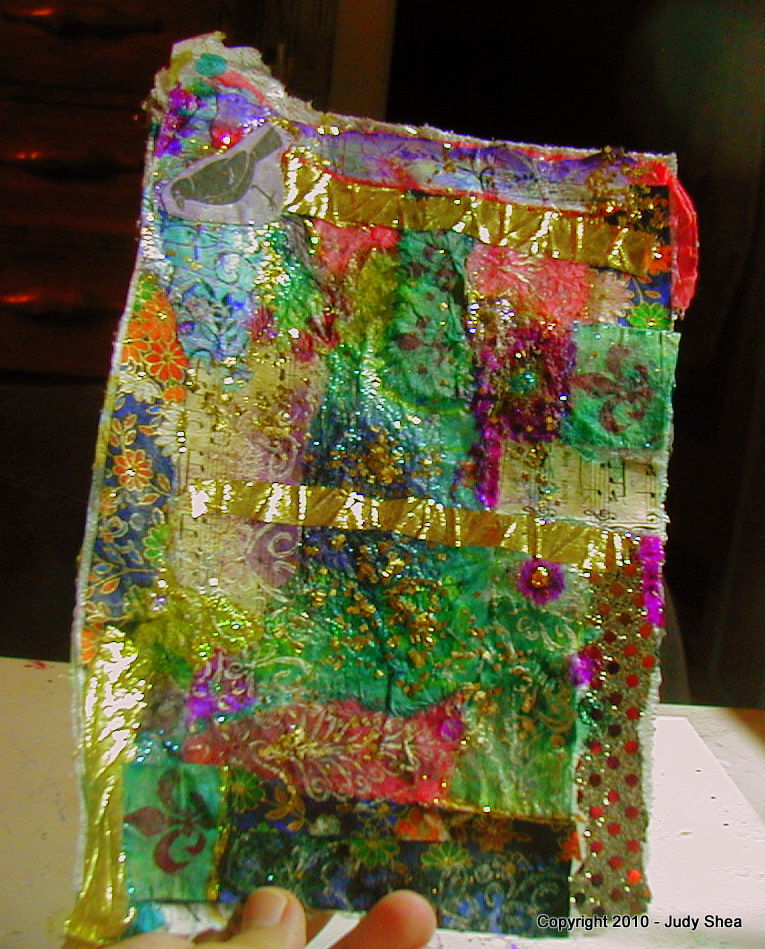
Then, I used up my Gelli Prints I had done over the past couple of months. See my posts/videos HERE and HERE. Measured, cut and glued.
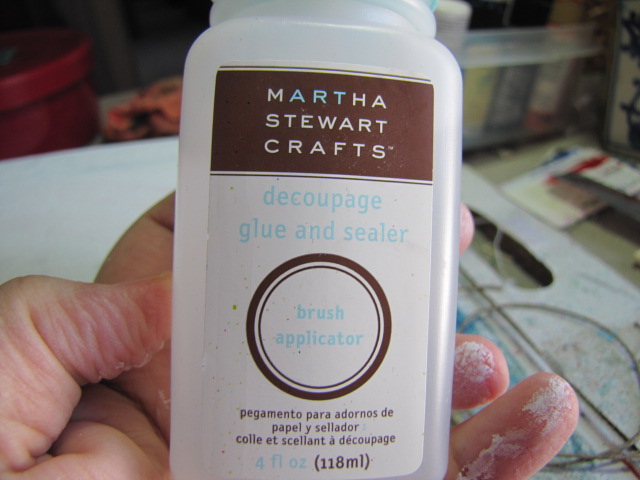
I used Martha Stewart’s Decoupage Glue and Sealer. I had it in the studio, so I do not favor it, really.
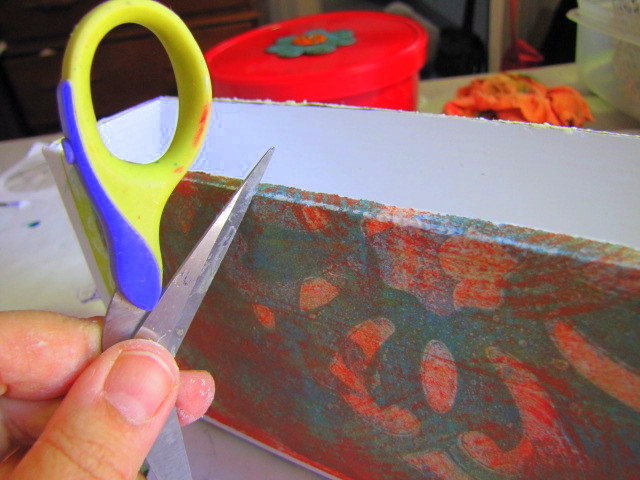
One the sides were glued down well, I scraped the edges with a scissors blade to get rid of the excess paper coming over the edges.
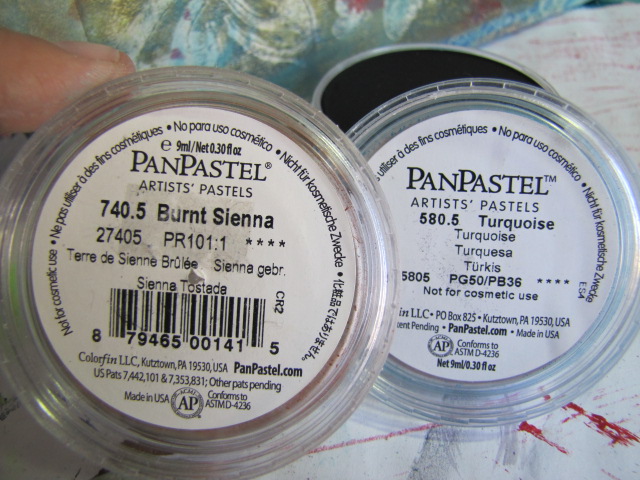
Then I used Pan Pastels to fill in any white spaces.
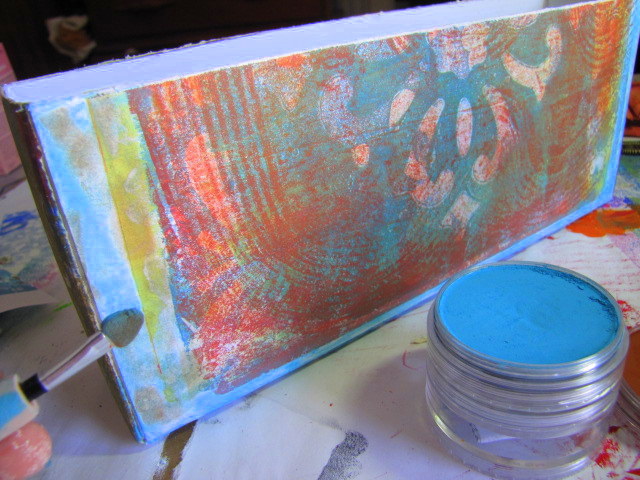
It’s coming along.
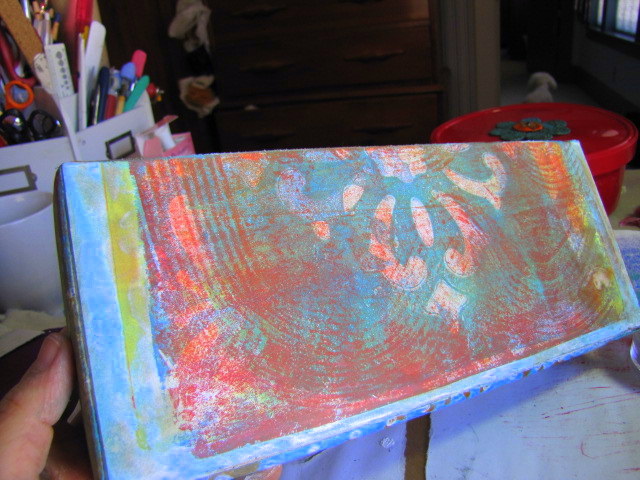
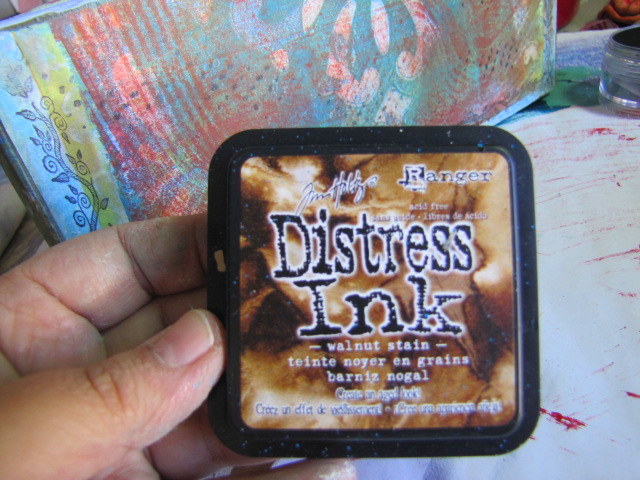
Took a rubber coaster and used it as a stamp (dots) with some Staz On black ink. Then I used Distress Ink (walnut stain) to rub along the edges of the box to stain it or vintage-ize it (I made up that word).

Not shown here, but I added some stamping around with black ink. Painted a text stamp with white acrylic paint and stamped all over. I also took some brown and orange paint mixed and filled in some of the corners of the box.
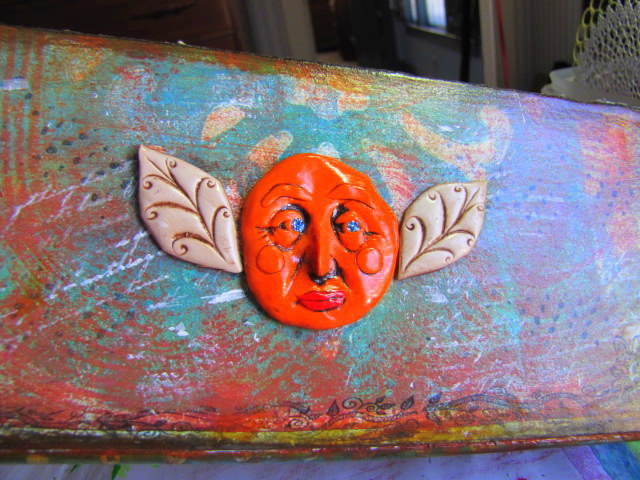
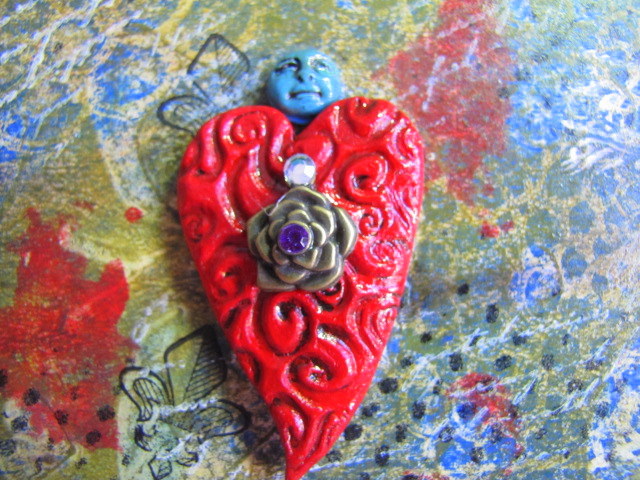
Ok.. now I must put some “buttons n’bellishments” on there, don’t ya think? What to choose, what to choose.

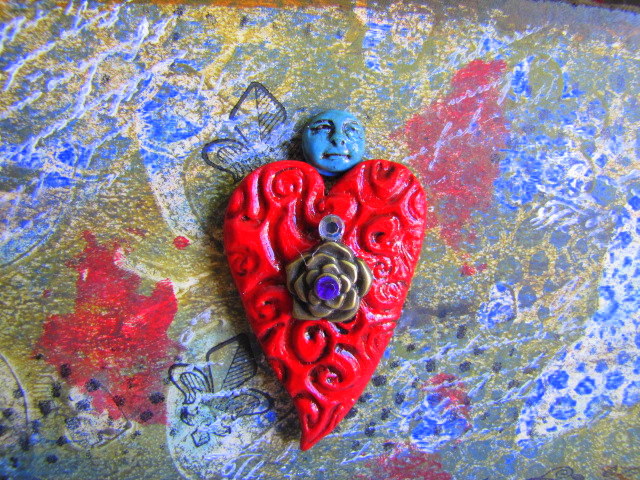
Then on the back.. I think a big face. Yes?
I put a coat of the Martha Stewart sealer on one side and Liquid Laminate on the other. The MS sealer had tiny bubbles and dried that way. No big deal, but wasn’t crazy about it. The Liquid Laminate was, as always, great. Nice thin coat that dries fast.


Ok, now it’s done.. what shall I use it for? It won’t take anything to heavy, I had to think light. I decided to use it for my smaller stencils and Gelli Print bookmarks I made. I LOVE! I LOVE!


I love what embellishments do for an art piece. My online “Buttons n’bellishments” workshop is over and I’ll be sharing the student results very soon, along with a Flickr group.
If you want to see what else you can alter/recycle with your Gelli Prints.. Check out Carolyn’s Heart Boxes and Corrine’s binder along with Jessica’s pasta box recycle.
As always, thanks for stopping by. Leave some love.. I love hearing from you.
Judy ♥


